I just finished the largest DIY project I’ve ever tackled: a DIY media console for my family room. If you follow me on instagram, you may have seen some photos along the way {#DIYwithDad} and I’m excited to finally share the finished console with you!

We started out using Ana White plans as a base and my Dad revamped the measurements to correct a few things and to accommodate the wood we were using. At the bottom of this post, you can see our cutting plan and the measurements of the console and you can download those all as a PDF by clicking the link at the bottom.

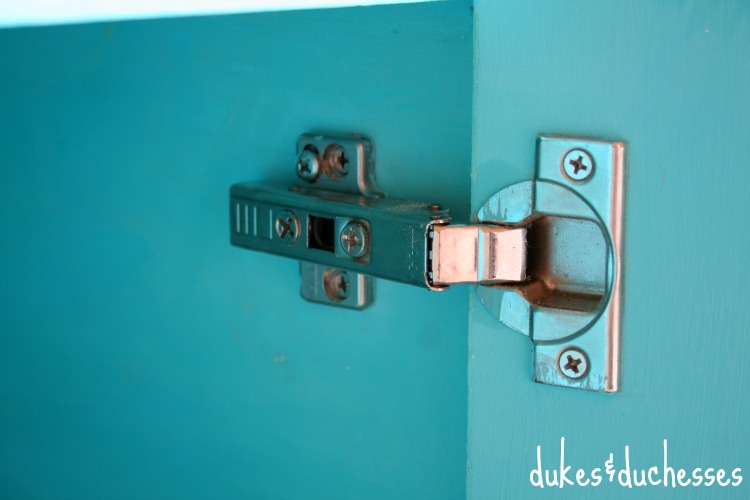
But first, let me show you all the details! The four doors along the bottom are all hinged with adjustable hinges ..
… and the two outer doors have shelves inside. The middle doors open to a large space without any additional shelving. It’s perfect for accommodating our Wii and other tall items.

The top compartments house our DVR and box things {technical, right?} and I found perfectly sized lined baskets to hide remote controls and other items.

I painted the media console with a bright turquoise chalk paint {it adds some fun color to our family room} and planked the top with dark stained boards.

The oil rubbed hardware is a nice match for the dark top.

While it isn’t perfect, I learned so much building this console and loved taking on a big project with my Dad. We’re already plotting our next one.
And in the meantime, I have a great new piece of furniture to fill some of the space in my huge family room!

Check out the plans here and find the downloadable link below.

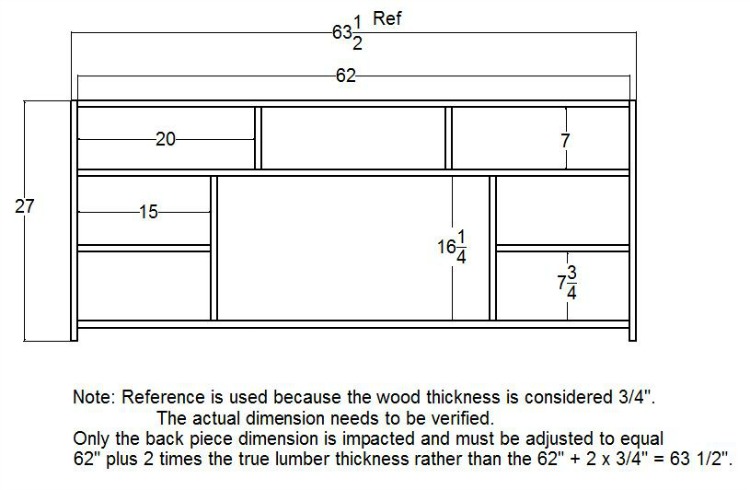
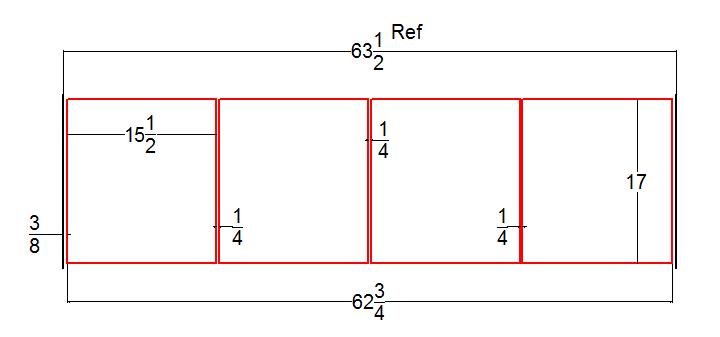

The plans can all be downloaded in PDF form by clicking this link: DIY Console Plans.

For more building projects, be sure to check out this DIY repurposed bench …

… a DIY rustic wooden tray with leather handles …

… and a DIY wooden drawer divider that’s perfect for organizing your kitchen!


Great job Randi!!! I so enjoy following you and seeing what you come up with next. Bobetta(Fellow Texan transplanted in NC).
You rock! Great job