I’m slowly but surely {but more slowly than surely} redoing my youngest son’s room. We’re giving it a bit of an industrial makeover and taking it from little boy to big boy with some new paint and a few updated DIY touches. I just finished making Luke’s DIY industrial bedside table and thought I’d share the simple tutorial.

This bedside table was inspired by an end table shared by Lowe’s. I altered the size and added a shelf in the middle, converting it into a simple bedside table that will look great in Luke’s room.
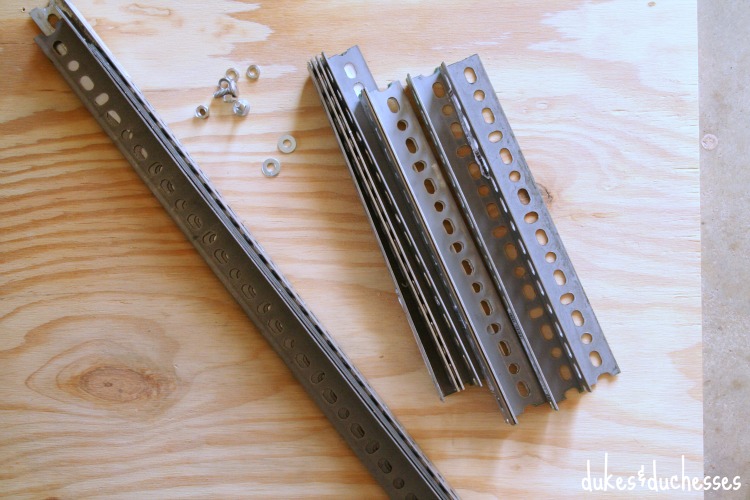
To make this table, you’ll need four 24-inch slotted L angles, 12 12-inch slotted L angles, 24 carriage bolts, 24 1/4-inch lock washers, 24 nuts, 3/4-inch plywood, 8 1/2-inch wood screws, and 8 washers.
If you’re unable to find the lengths of L angles needed, you can cut them with a hacksaw or a Dremel {affiliate link}. A metal blade on a Dremel will slice through the angles like butter. Be sure to file any sharp edges.
From the plywood, cut one 12-inch square and another square that’s just slightly less than 12 inches {11 3/4 or 11 7/8 inches square will work perfectly}. The smaller square will be used for the shelf.
Sand the edges and stain as desired. I used a slate stain by Minwax to obtain a weathered wood look. Let the wood dry completely and cover with polyurethane to provide a protective coating.
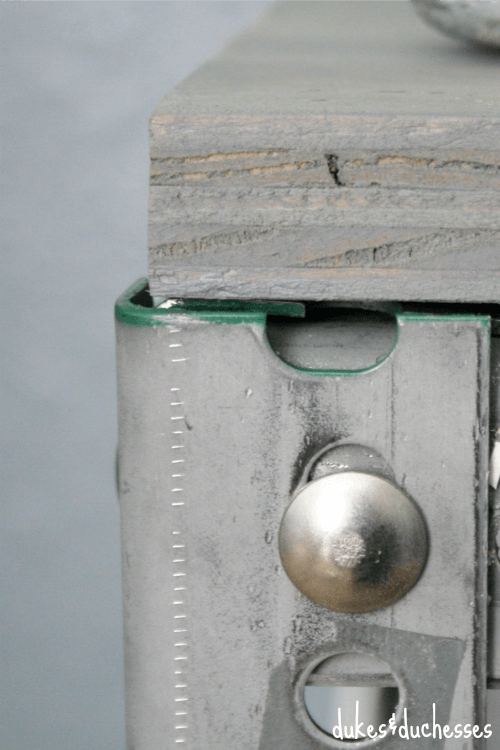
While the wood is drying, begin building the frame of the table. Use the 24-inch pieces as the four legs of the table and use the 12-inch pieces to create squares at the very top, the very bottom, and somewhere in the middle for the shelf. Attach the crossbars with carriage bolts at each corner {two per side} and use a lock washer and a nut on the inside. {The wood is shown in the photo below but won’t be placed on the frame yet.} Attach the bottom crossbars so that the flat side will rest again the floor or carpet.
Depending how far the shelf is from the top of the table, you may need to put the shelf in place before you attach the crossbars {otherwise the spacing will be too tight to slip it in}. Don’t secure it yet, just put it in place and secure the crossbars.
Do not fully tighten the carriage bolts and nuts yet, just put them all in place and tighten them so they’ll still allow some movement.
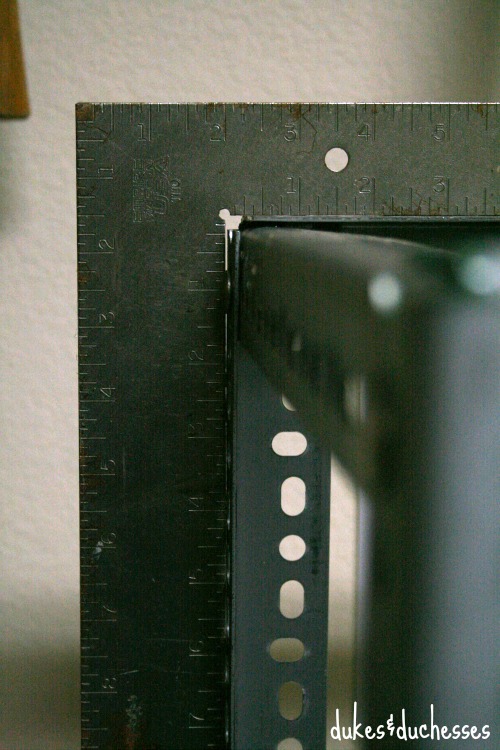
Square up the table on all sides and fully tighten the nuts, using a wrench.
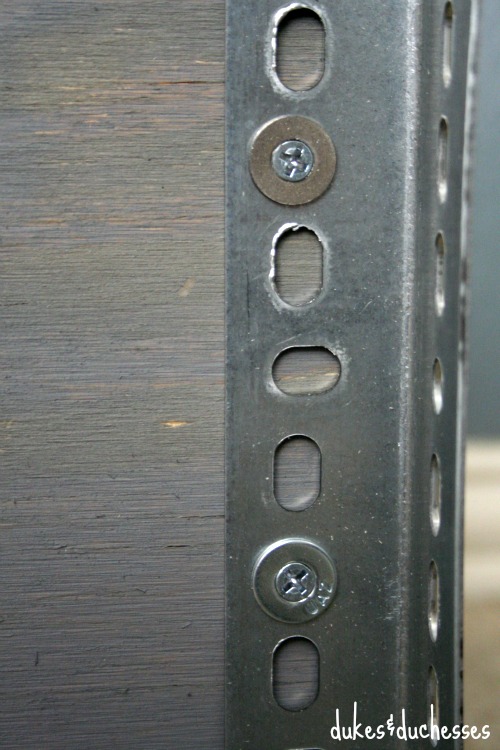
Secure the shelf and the top of the table to the slotted angles, using a washer {so the screw head won’t slip right through the holes} and 1/2-inch wood screws.
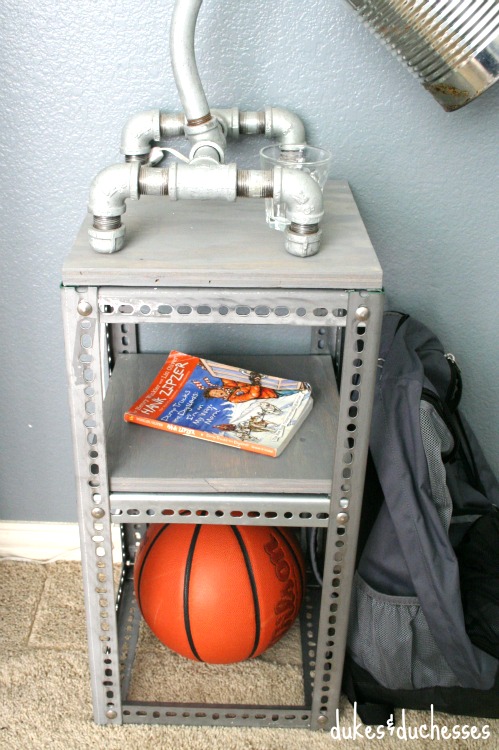
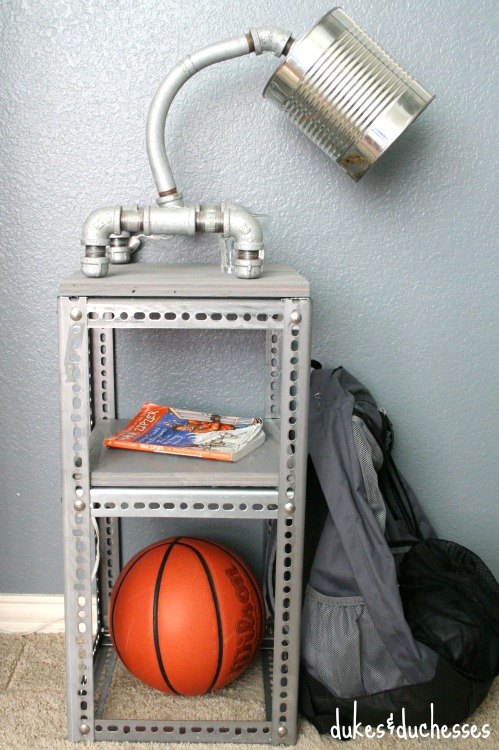
That’s it! The industrial bedside table is complete. Luke’s table is topped with an industrial lamp he built with his Poppa.
We’re ready to tackle the next step in the room makeover. A desk in the same style as this bedside table is coming soon and I’ll share the tutorial here when it’s finished.
Disclaimer: this table was not designed by an engineer and is not structurally sound. No one should sit or stand on it or place anything heavy that may cause it to tip over. If you are concerned about a small child or pet pulling it over, it should be secured to the wall.

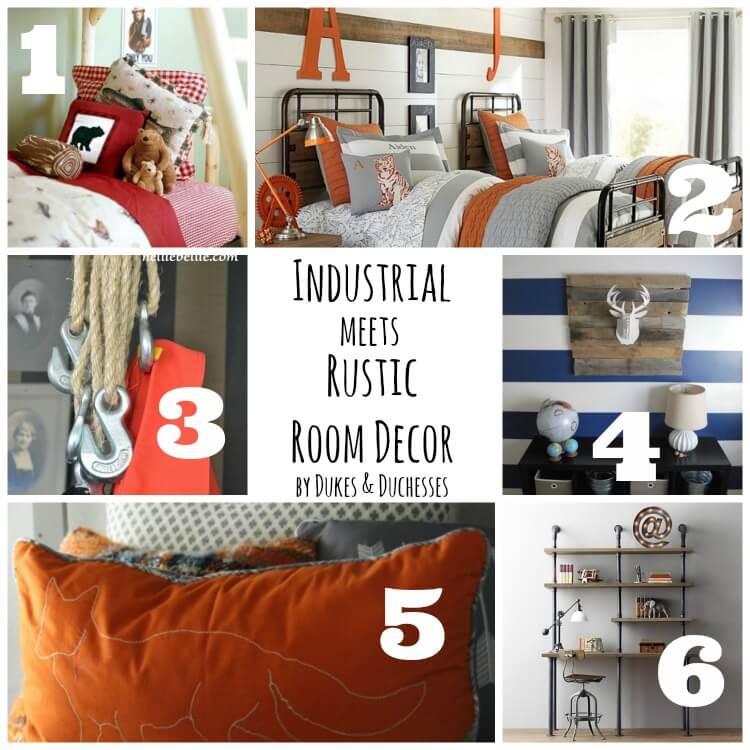
To see the ideas I’ve been stashing for Luke’s makeover, check out these industrial rustic makeover ideas {and see how behind I am on this makeover} …
… check out his magnetic locker door memo board …

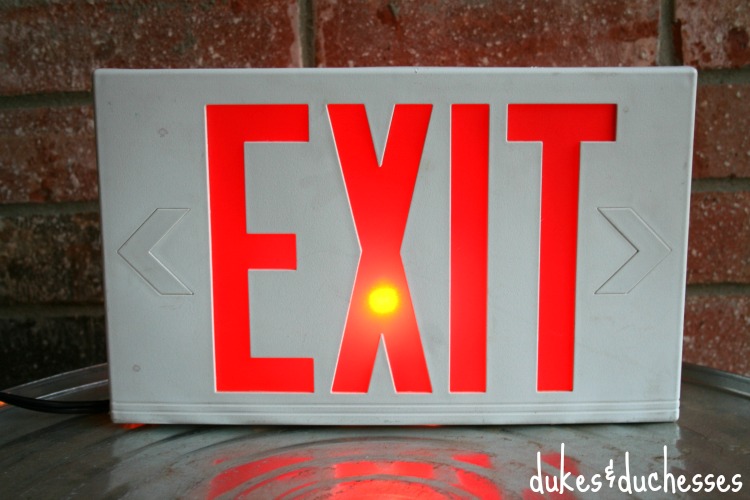
… and take a peek at Luke’s DIY exit sign nightlight!


Love this idea for a boy’s bedside table. I couldn’t help but notice that cool DIY Lamp too.
Love this, Randi!
What a great idea I love what you have done here. I really like the lamp. Looking forward to seeing the table.
Love this bedside table… brilliant idea! Just discovered your blog through DIY like a boss party! And I have fallen in love with it!
This is perfect for a boys room! Ist shines with personality! And that lamp on top of the table is just perfect!
Love the look of industrial stuff. Very cool. Pinned. best wishes, Linda At Crafts a la mode