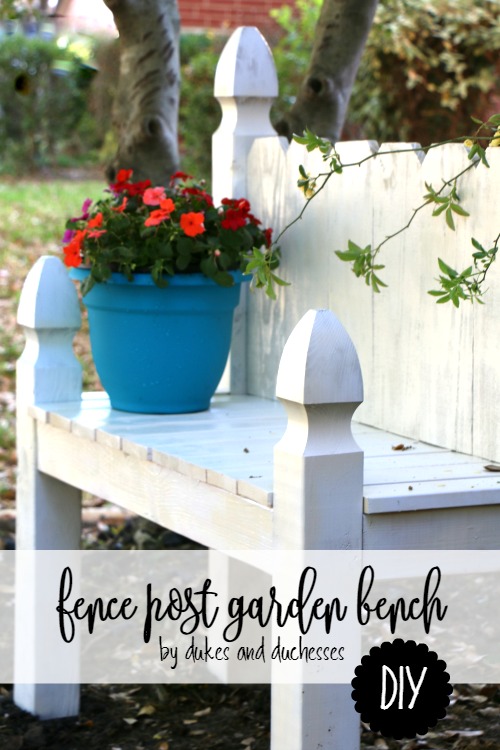
For the last year or so we’ve been on a quest to improve our gardens and yard. We ripped out lots of overgrown but sparse bushes and created a plan for a quaint, pretty space. This year I’m hoping to tackle and complete the plan and this DIY fence post garden bench was the first step. It’ll provide a focal point, take up some of the huge space we have in our front garden, and, once the flowers grow in around it, it should provide a really cute backdrop for the color! {This post contains affiliate links.}
Before I tell you how I made this bench, let me give a little background on my building projects so you don’t cringe in the middle of this tutorial. I choose wood based on shape and size, I mix and match in ways I probably shouldn’t, my end results are always whimsical and imperfect, and my techniques might be a bit sketchy. If you can relate or you don’t mind a healthy dose of whimsy, read on {smile}.
To make this fence post garden bench, you’ll need four garden posts, 4 inches wide {the true measurement is actually 3.5 inches square}, six 6 inch pickets {the true measurement is 5.5 inches wide}, 2×4’s, and 1×4’s {see the measurements below}.
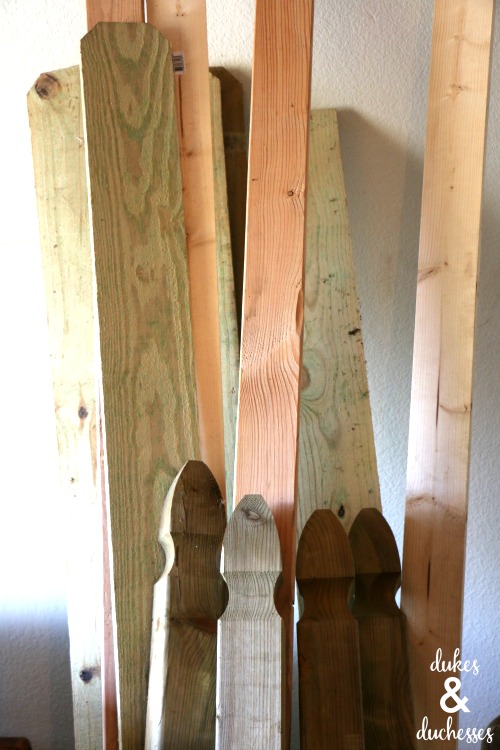
If the garden posts you’re using have the weird end on them, cut that off in equal lengths for the back posts then cut the two front posts a few inches shorter than the back ones {I cut mine about six inches shorter}.

Cut the 2×4’s into three pieces measuring 33 inches each {if the pickets you’re using are a different width than mine, you need to adjust this measurement to equal the total width of all six boards} and two pieces measuring 10 inches each.
Use a Kreg Jig {this small version is totally adequate for projects like this … and totally affordable too} to create pocket holes in both ends of all five pieces then screw the screws partway into the holes but not poking out the end of the boards. This just makes it easier to attach the boards without worrying that the screws are sliding out of the holes.

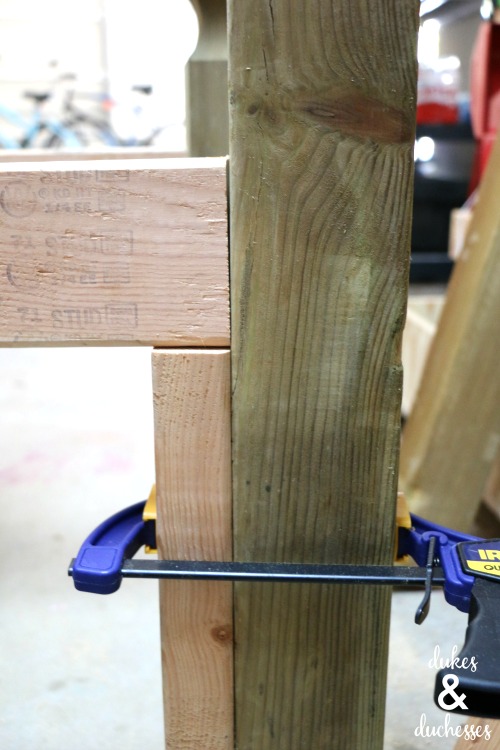
To get the proper height without crazy measuring and balancing, cut a scrap 2×4 to a length of 18 inches and use that as a guide for the frame height. Clamp the guide to the fence post, even with the floor, set the 2×4 on top of it, then screw both screws fully into the post, lining up the 2×4 with the outside of the post.
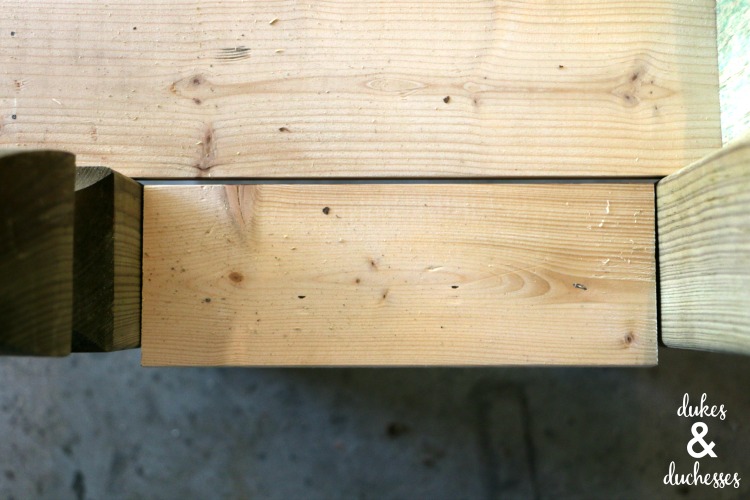
Attach the 10 inch pieces between each front and back leg …

… and the 33 inch pieces between both back legs and both front legs.

Cut another scrap marker at about 10 inches and use that as a guide to place the back support piece. This is what you’ll attach the back planks to.

Cut the 1×4 boards into planks for the seat. You’ll want them to be even with the back 2×4 and to stick out just a bit past the front 2×4. Mine are about 16.5 inches in length. Nail them into the front and back 2×4’s, using at least two nails in each board and spacing the planks evenly between the posts. My seat is not perfectly even but remember how I feel about that? Whimsy.

You’ll need to cover the 2×4’s in between the front and back posts as well so cut a piece for each side, 10 inches long, and nail it into the 2×4 below it.
Cut the pickets to the length you want {the height of the back is just personal preference} and nail them side by side between the two back posts, attaching them to the back support.
If you’re concerned about those back planks holding tightly, you can also place a small piece of wood at the bottom behind the planks.

Now stand back and admire your whimsical garden bench! I painted my bench heirloom white and sealed it to prevent it from excess weather damage … although a bit of weathering is right up my alley.

I planted a beautiful flowering vine-type thing {smile} beside it and draped it across the back of the bench. As it grows, I’ll continue to train it across the back, draping it across the pickets. Cute, right?

The flowers are so delicate and beautiful! Let’s hope the lighting this spot gets is exactly what this plant needs.

I also placed a pot of flowers on the bench to add a bit more color.

I love the way this garden bench turned out, whimsy and all, and love the sweet bit of personality it adds to the garden.

And now I’m motivated to finish the rest of this garden plan!

What are you adding to your garden this year?

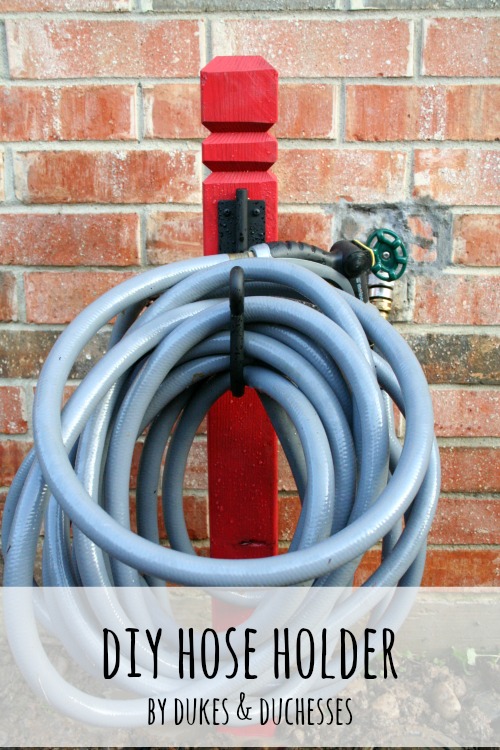
For more outdoor building projects, be sure to check out this simple DIY hose holder …
… a bench made from an old headboard …

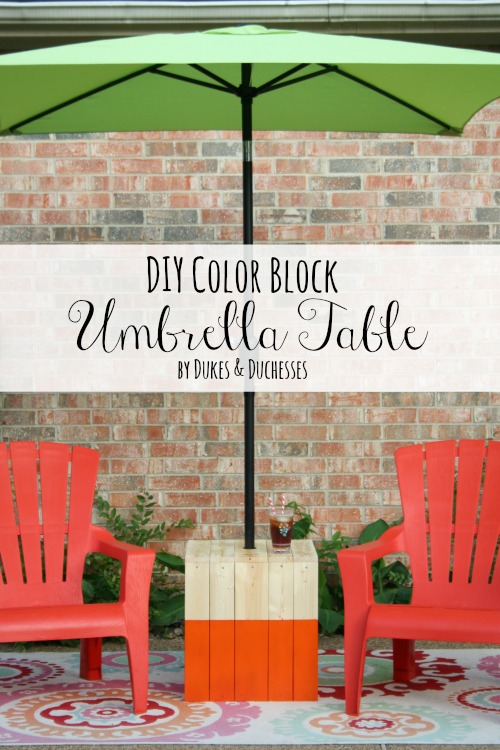
… and a DIY color block umbrella table.


Love it!!!
Would love to have this in my yard! Thanks for sharing at Brag About It! Pinned.
Love your garden bench. Thanks for sharing at the Inspiration Spotlight party. Pinned & shared.
This is gorgeous, I’d never think to try to make my own bench. I love your vine-y thing, very pretty!
adorable bench. Wish you had a ‘print’ button so that I could print out the plans
I want this! This is such a good idea and it turned out beautifully.
Adorable! My husband actually owns a fence contracting company and we would be more than happy to donate fence panels to anyone who might be interested. We have to take so much to the dump and I am on a mission to find ways to use as up-cycle projects! You can go to our website and send us a request and we will be happy to help:
https://www.housewrightgroup.com/requestfreefencepanels
Oh my gosh, this is AWESOME! You can bet I’ll be requesting some free panels as soon as I come up with another project!! Thanks so much for sharing!
Love the little bench it turned out so pretty! One of these days I will get around to making one myself. Thanks for sharing, you make it look pretty simple.