This organization post contains affiliate links.
Are you in organization mode this month? Once I put away all the Christmas decor, I just want to clean everything and get the whole house completely organized. Since I recently moved, I don’t really have crazy spots that need reorganizing but I do have a long list of projects to tackle. One of those projects is my craft closet! These simple magnetic labels can be written and cut with your Cricut machine and it’s a great way to create some craft closet organization … or organization in any space at all!

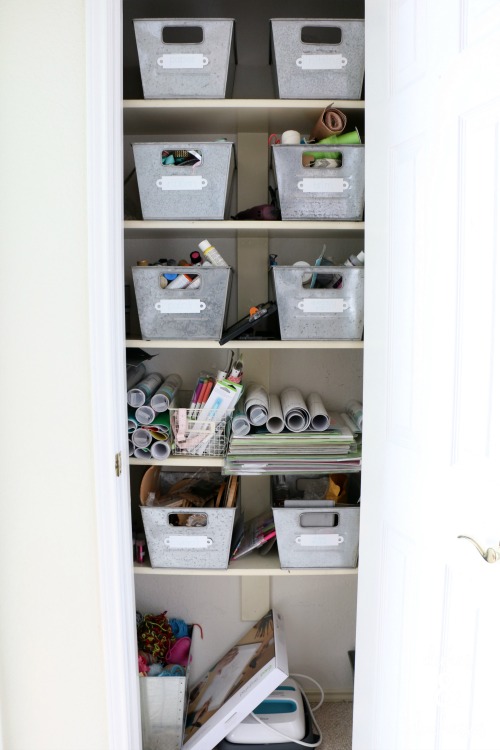
With five kids, space is often at a premium. This house is quite a bit smaller than my last house and while I love the smaller size, it means there’s no area for a dedicated craft room. I’ve never had a craft room and can easily live without one but I do need an area to keep my craft supplies. The solution? I took over a second linen closet and turned it into a craft closet. The craft closet has a door that opens out {and I may add some shelving to the door at some point} and the closet shelves extend about two feet beyond the door on both sides, making it a great storage spot.
I used galvanized bins and small locker-style wire baskets for storage but I wanted to label the bins so we all can find supplies quickly. Magnetic labels seemed like the perfect solution!
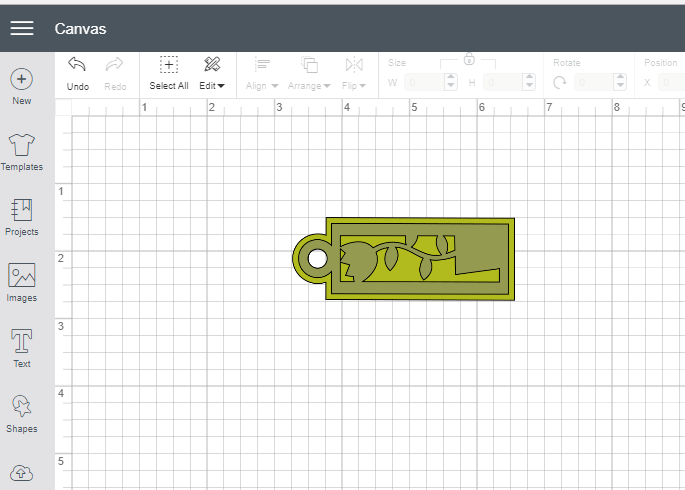
I knew the shape I wanted but couldn’t find it in Cricut Design Space so I played around and made my own tag. I added the image below …
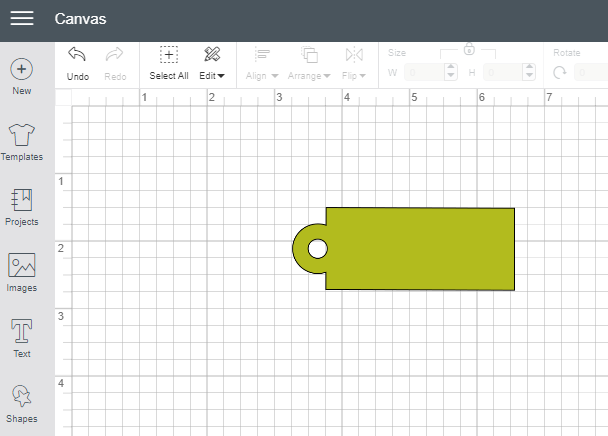
.. and deleted all the extras, leaving just the basic tag shape.
I duplicated the shape …
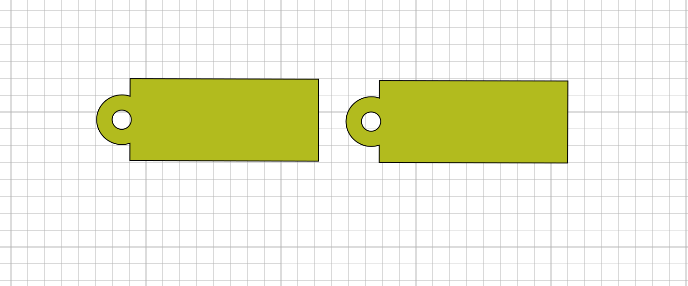
… then flipped one around to face the opposite direction.

I slid one tag over the other until the size seemed right, aligned them with each other, and welded the two pieces together. That gave me a symmetrical label that matched the idea I had in my head.

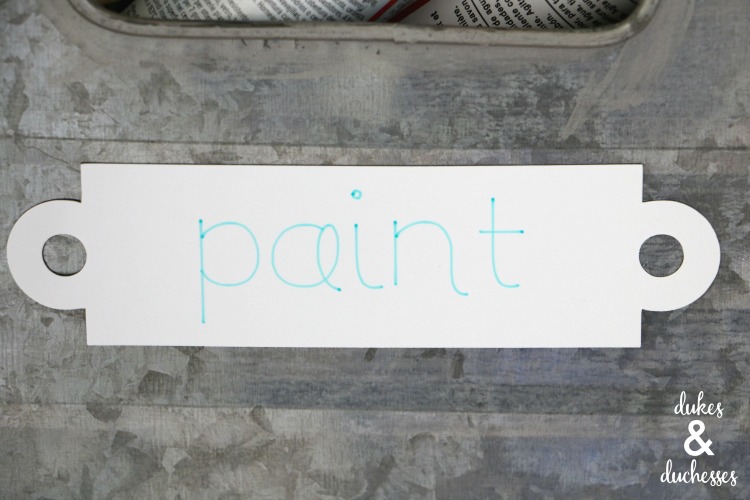
Then all I had to do was add the text. I’ve never used the writing feature of my Cricut before and I was a bit nervous about how it would work but it was so easy and I love the outcome. Because I used a light colored pen and a thin font, the text is a bit hard to see in these photos but it’s exactly what I wanted.
I do have a couple of tips for any other first-timers. Use the align feature to center the text both vertically and horizontally. And instead of changing the size of the font on each label, just duplicate the text from your first label and edit it for the second label. That way all of the formatting will remain. Also, be sure to select each label with the text inside and attach them together so they’ll write and cut as shown on your screen.

But the most important thing to remember is this: make sure all the text has writing selected under layer attributes. If not, you’ll have perfectly cut lines where the text should be. I may have learned that lesson the hard way {smile}.

Once you have everything prepared the way you want it, send it to your machine. Load printable magnet paper. The Cricut will instruct you to insert a pen next to the blade and it’ll write the text first then cut out each label.

Once the labels are all cut, separate them from the negative space …
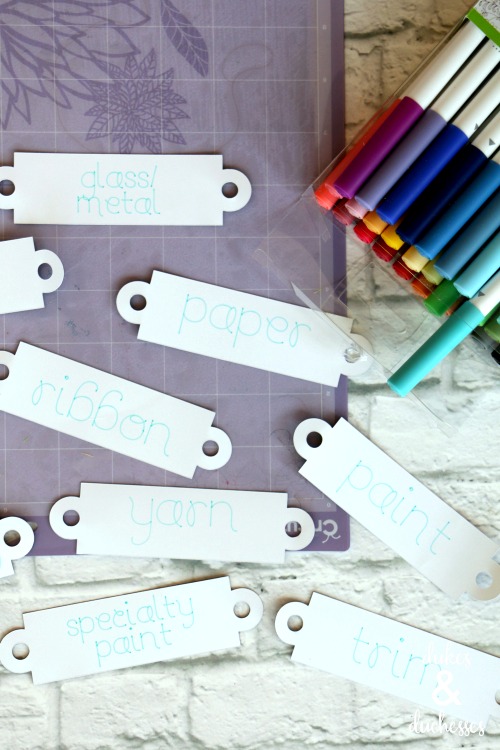
… and you’ll have labels that are completely ready to use.

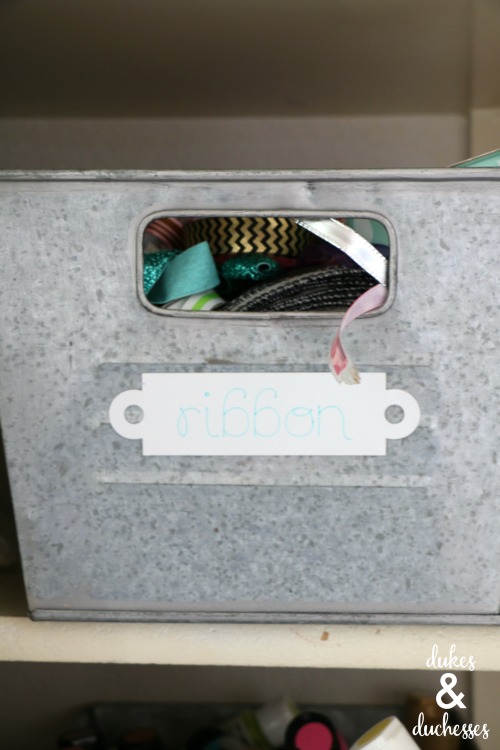
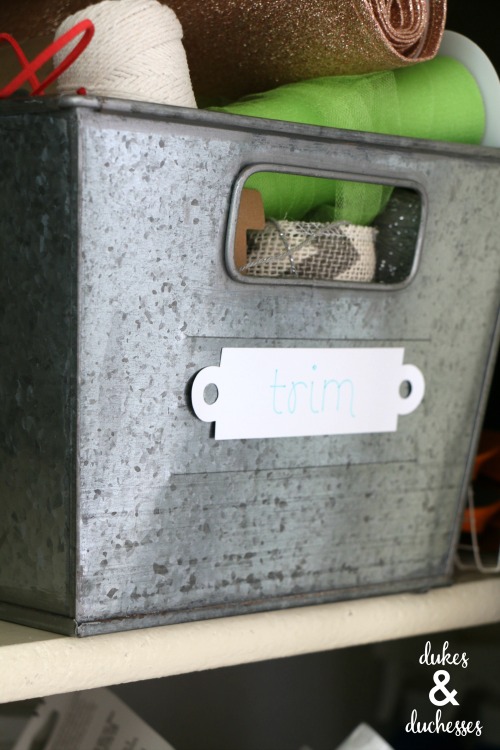
I attached the labels to the metal baskets …
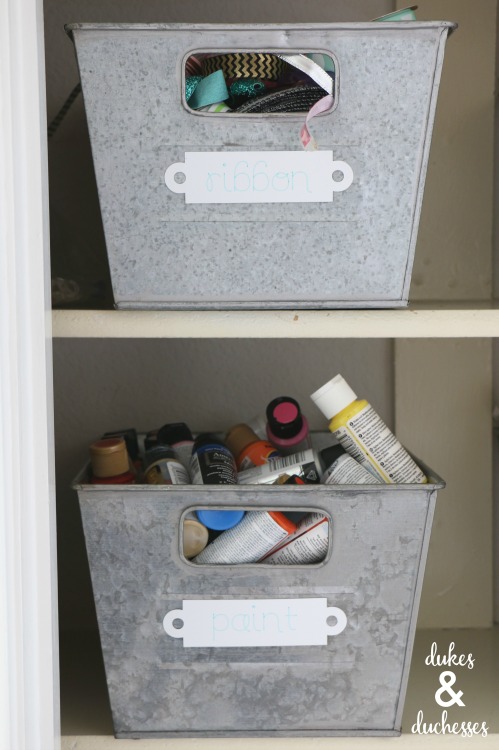
… and now my craft closet is not only organized …

… but perfectly labeled as well.
It’s appealing perfectly to my very Type A personality …
… and I’m thinking about adding some similar labels in my pantry, maybe using sticker paper.
Have you tried writing with your Cricut?

For more closet organization, be sure to check out this linen closet organization and grab the free printable labels!


I love my Cricut and this is a fabulous idea. What a great way to label and store your supplies. Thanks for sharing at the #HomeMattersParty