Oriental Trading provided product for this balloon garland mantel but all thoughts and opinions are my own. This post contains affiliate links.
I’ve never seen a balloon garland or balloon installation that doesn’t have me smitten at first glance and I thought it would be a really fun way to decorate the mantel for Valentine’s Day! After all, a day that’s all about love deserves a bit of hoopla, doesn’t it? This balloon garland mantel is a bit time consuming to pull off but the final outcome is pretty fabulous! And it’s definitely a great way to share the love with your family members or create a focal point for a Valentine’s Day party!

To make this balloon garland mantel, you’ll need chicken wire the length and width of your mantel. To avoid cutting the chicken wire and having too many sharp ends {not a great combination where balloons are involved!}, I folded the chicken wire in thirds lengthwise rather than cutting it to the width of the mantel.
{Update: for a SUPER easy way to make a balloon garland without using chicken wire, use balloon garland strips.}

Use wire or twine to tie the ends together in a few spots along the length of the chicken wire …

… and place it on the mantel. Unless your mantel is really high, it’s probably easier to create the balloon garland in place rather than trying to move it later.

Tape the chicken wire onto the mantel in a few different spots to secure it well. Once the balloons are tied onto the chicken wire, it can tend to lean a bit, depending on the way the balloons are distributed.

Once the base is complete, it’s time for the fun part! You’ll need a pile of balloons in various colors and sizes, if possible. I found a great selection of balloons at Oriental Trading and mixed and matched colors until I came up with a palette I liked.

Choose a color scheme, or go completely monotone, and find different sizes if you can. If not, simply blow the balloons up to varying sizes.
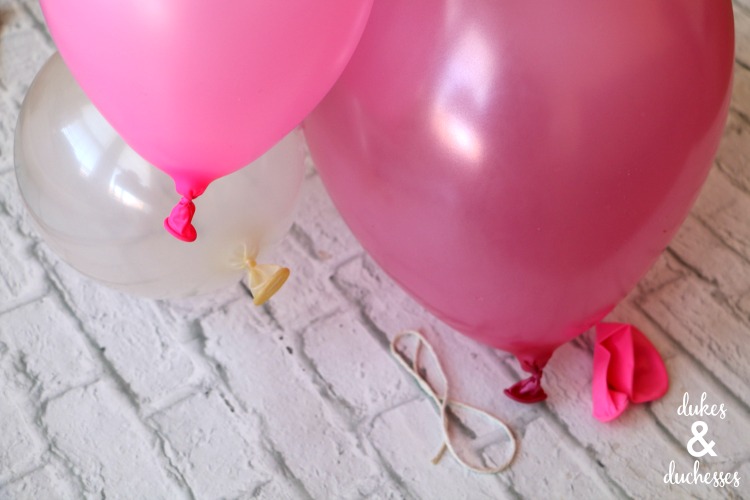
It works well to blow up a handful of balloons at a time … or get the kids to help blow up balloons while you start tying.
Tie twine onto the knot of the balloon and then tie the balloon onto the chicken wire. I played around with a couple of different methods: tying the balloons in clusters, and hot gluing some small balloons on to bigger balloons before tying to the chicken wire. The method that worked best for me was to tie large balloons along the chicken wire, spaced at different intervals, and then start filling in spaces with medium sized and smaller balloons. Once the chicken wire was covered quite well, I filled in small gaps by using a dab of hot glue to attach small balloons in spaces.

When the balloons were all in place and I was happy with the way it looked, I filled in the tiny remaining gaps with book page clusters. I tore pages out of an italian/english book, tore the pages from side to side {leaving a small border along the bottom} and rolled them up then glued them into place. The torn pieces can be spread out to cover any gaps …

… and the contrast looks really cute.

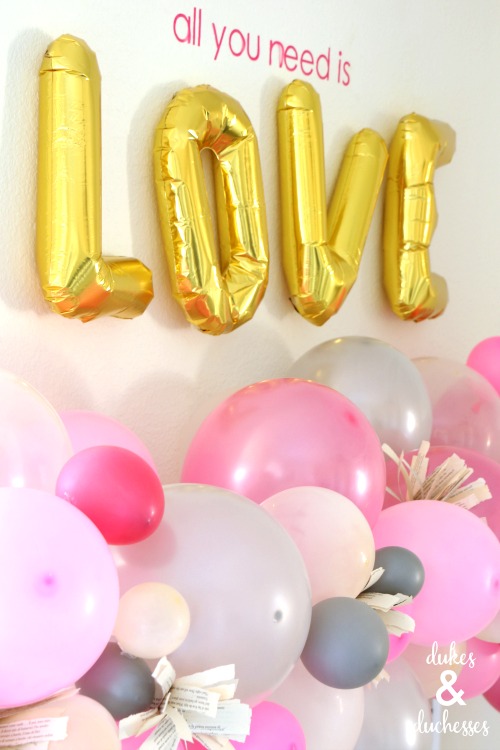
For the final step, I attached LOVE balloons to the wall above the garland and used my Cricut Maker to cut vinyl text to place above it.

The final result is an over-the-top mantel that makes me smile every time I enter the room!
I’m already planning my next balloon garland and you might be seeing a whole lot more balloons at Dukes and Duchesses this year!

How are you decorating your mantel this Valentine’s Day?


My children would love this, they love balloons. This is perfect for Valentine’s Day and is so sweet. I can’t believe this is made with chicken wire. Thanks for sharing at the #HomeMattersParty
Wow! This garland is so cute and clever! Thanks for sharing at #BestoftheWeekend