This upcycled cabinet door pantry sign post includes affiliate links.
I’ve been busy organizing my pantry this week {you can check out my new and improved pantry organization here} and I decided the space above the pantry door needed a little something. For just a couple of dollars, I made this upcycled cabinet door pantry sign and I love the quirky, vintage style of it! Can you tell what I used to make it?

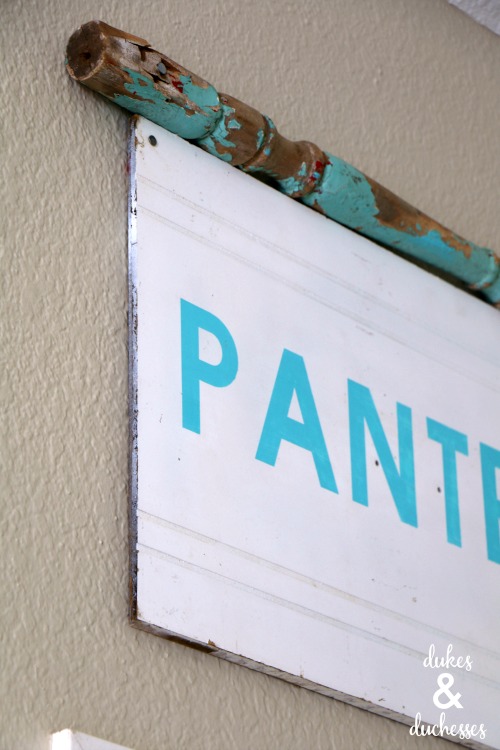
Last fall, I went to a vintage market in my area and found an old red and turquoise chippy table leg. I bought it with an entirely different plan in mind and then decided not to carry out that plan so it’s been sitting in my garage, waiting for just the right project. I knew it would add a fun vintage element to a sign.
And to create the sign base, I decided to use an old white cabinet door from ReStore instead of a regular piece of wood. I loved the lines in this door, the distressed corners, and even the holes where a handle used to sit. Those details add the character I love and the price {$1!} just couldn’t be beat!

I used my Cricut machine {I’ve been using the Cricut Explore Air 2 instead of the Cricut Maker lately only because it’s in the most convenient position on my cart … how’s that for laziness? Wink.} and vinyl to create a stencil. Since I was using a 12×12 cutting mat, I created the stencil in two separate rows but if you have a long cutting mat, you don’t need to break the word up.

I used transfer tape to apply the stencil to the middle of the cabinet door, making sure the word was even and centered across the board.

And then I painted. I used a small brush {I just grabbed what I could find in our craft stash} and dabbed the paint on, being careful not to push it under the vinyl edges. I was going to use black paint but decided to bring in the turquoise color in the table leg as well as turquoise accents that I have throughout the house.

Once the paint was dry, I sanded it lightly just to rough it up a bit and give it a slightly distressed look.

I was going to secure the table leg to the cabinet door before hanging but the only way to do that would be to brace them together on the back and that wouldn’t allow the sign to sit flat against the wall. Instead, I attached the sign to the wall and then attached the table leg to the wall separately, sitting right on top.
I love the way this pantry sign turned out!
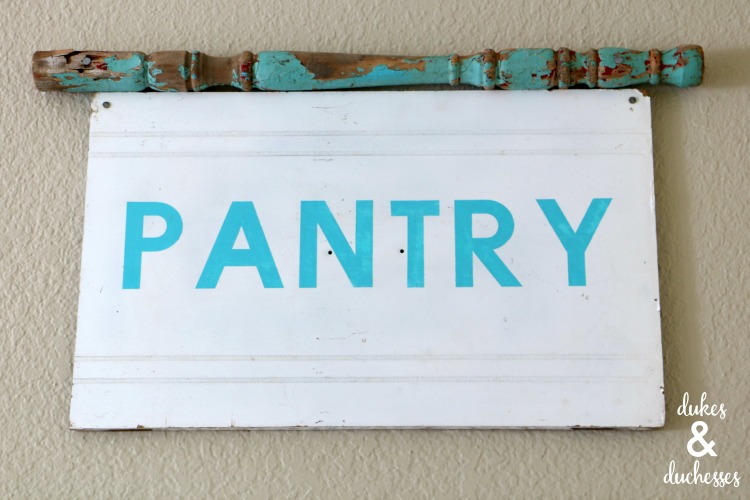
It’s completely my style and adds a fun bit of character to our kitchen.

Do you love the vintage style as much as I do?


The sign is so cute. I love how you incorporated the table leg on the top.
Love this sign!
What a fun project! Are you able to create stencils that can be used over and over again?
If you cut them with plastic, you could definitely use them repeatedly. I usually cut them with vinyl {because I have lots of it} and they’re not reusable.