This is a sponsored conversation written by me on behalf of Cricut. The opinions and text are all mine. This post contains affiliate links.
I’ve been having so much fun crafting this week and wall decor seems to be at the top of my project list. Maybe it’s because the majority of our walls are still bare after moving last fall but I’m just really into making fun things for the walls. I just finished a mixed media piece that I love! I made a paper and iron on wood sign using the gorgeous Cricut Wisteria EasyPress! Did you know you can apply heat transfer or iron on to wood? And it couldn’t be easier!

If you saw the sparkle wall art post this week, you know that JOANN is now carrying an exclusive Cricut Wisteria Explore Air 2 Bundle. Well, JOANN is also carrying an exclusive Cricut Wisteria EasyPress Bundle and it’s so much fun! Because who doesn’t want a shimmery purple EasyPress? It’s the first ever custom colored EasyPress!
The bundle also includes SportFlex Iron On and exclusive Iron On Designs. The Iron On Designs are such a fun new idea: rather than creating your own designs in Cricut Design Space, you can use these designs that have been created and cut. I was really excited to try using these!

I was also excited to use Iron On on wood. While I love the look of vinyl on wood, it has a raised appearance. Iron On looks much more like the design was painted right on to the wood and that’s the look I wanted to achieve with this wood sign.
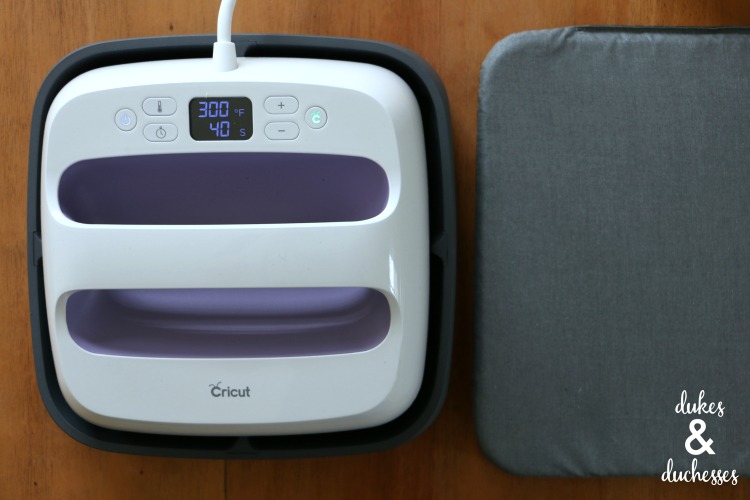
To make it, I first preheated the Cricut EasyPress. With the EasyPress on its base, set the temperature to 300 degrees. The red light will stay on until it’s fully preheated and then it will turn green and beep. In addition to preheating the machine, you’ll also want to set the timer to 40 seconds.
If you haven’t tried the Cricut EasyPress, I’m not kidding when I tell you it changed my crafting experience! I had experienced so many problems getting heat transfer to adhere to shirts and other fabric that I had just given up using it. My iron was never hot enough, I didn’t time it properly, and if I was successful, that success usually went south after a couple of washes. I was so excited when Cricut revealed the EasyPress last summer and I’ve had only complete success with it. It’s easy to learn and use, lightweight, portable, and easy to store, and in sixty seconds or less, you get professional iron on results. Unlike an iron, the EasyPress has a 9×9 evenly heated plate giving you flawless results that last. It’s made me excited about iron on heat transfer again! {And Mother’s Day is coming up so be sure to tell the family you need one!}

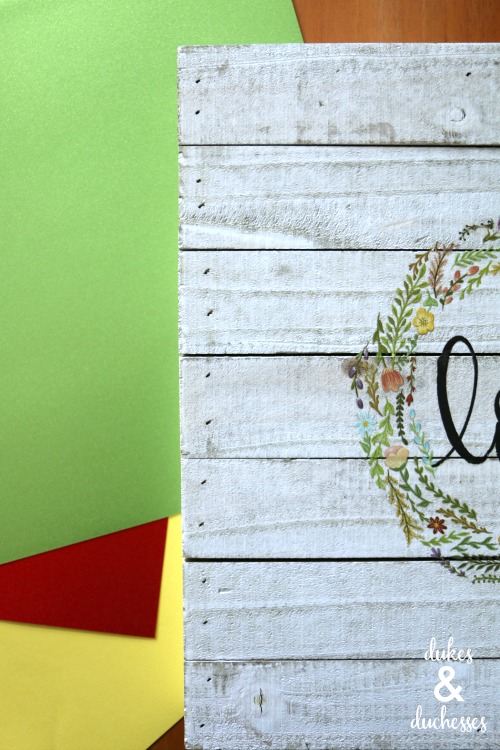
For the wood sign base, I used a white painted wood pallet that I found at JOANN. You can also DIY the base but I loved being able to save some time by buying it ready to embellish.

Because I was applying the design to wood, I obviously didn’t need to use the Cricut EasyPress mat but if you’re using the EasyPress with fabric or other mediums, the mat provides the perfect surface. To me, it’s one of the essential tools you’ll want.
Center the design on the middle of the wood piece. If the wood slats are wide apart, you may want to cut the design. The slats on this piece were fairly close together so I just transferred the design right over the spaces.
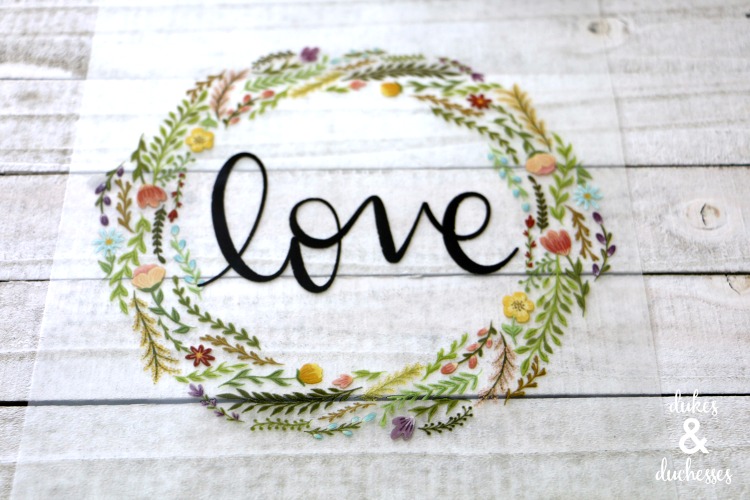
When the design is in the correct spot, set the EasyPress on top and apply heat and pressure for 40 seconds. No press cloth is needed for most base materials.
When the timer beeps, remove the EasyPress and slowly peel off the backing while the design is still warm. It will be harder to peel as it cools so reheat certain areas as needed. If parts pull up, press them down lightly with your finger.

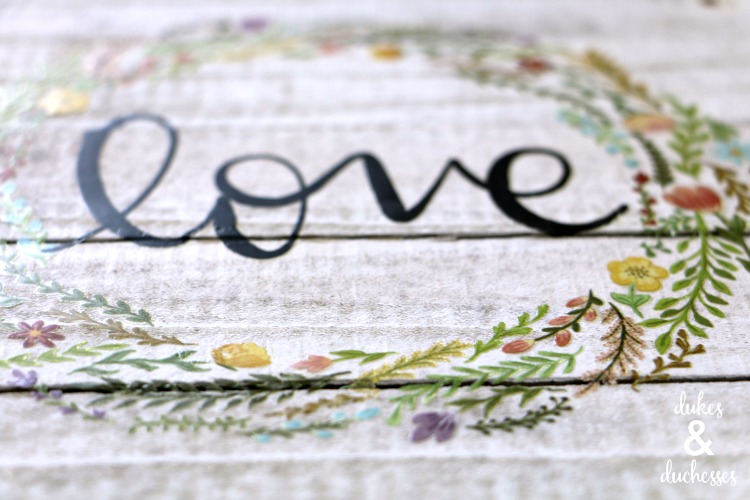
I love the way the Iron On looks against the wood. It really looks like the design was painted right on!
This Iron On design is super cute but I decided to add a little more to it. I love that you can customize the designs any way you want!
To give the wood sign dimension, I added some paper flowers and greenery. I wanted to blend in some brighter colors and a little shimmer so I cut the flowers and greenery from Cricut Shimmer Paper. The Bedazzled Sampler has great colors!
I used images found in Cricut Design Space and sized them quite small. I love the flowers that coil because they have really great three dimensional texture. Each coil will give you multiple flowers for this project. Because they’re so tiny, you don’t need the entire coil for one.

I cut the greenery and flowers out with the Cricut Wisteria Explore Air 2. Simply turn the dial to custom and then select the Shimmer Paper. Cut it on the Light Grip mat.

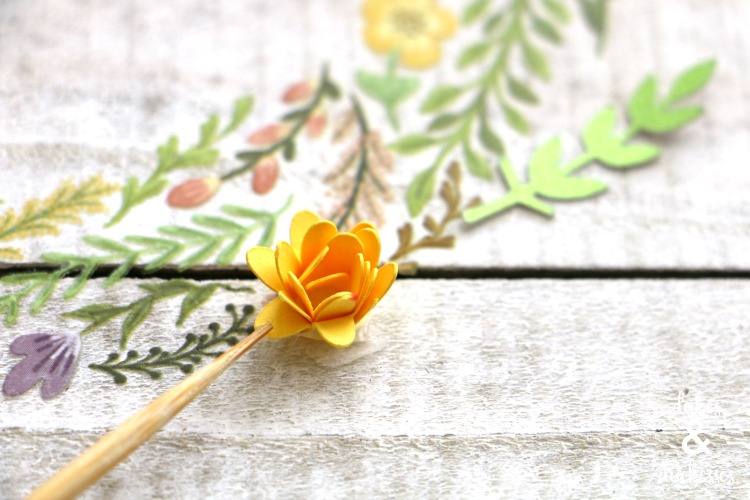
Remove the pieces from the mat and coil the flowers around a skewer, trimming when they seem thick enough.
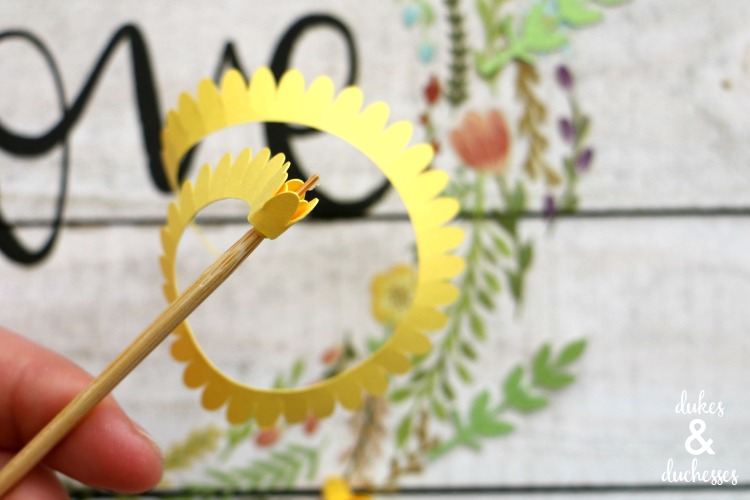
Hot glue the flowers in various places around the wreath and use the skewer to open up the petals and press them down.
Once all the flowers are in place, tuck the greenery in and secure it with a dab of hot glue.
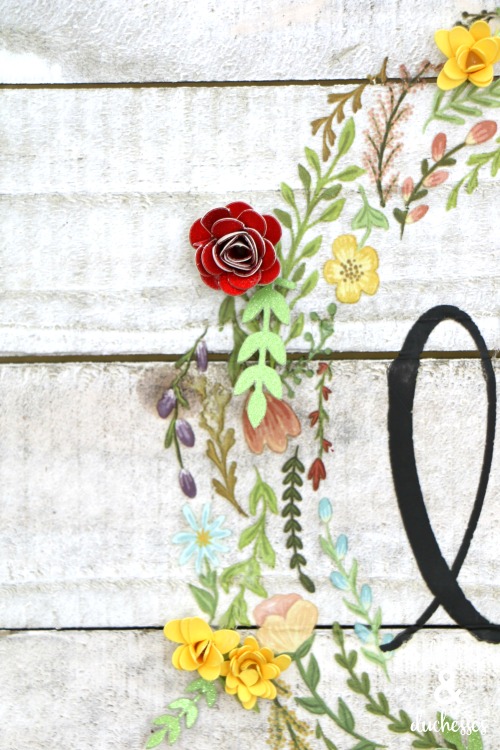
The added dimension and color really takes this wall art to the next level …

… and makes a great piece of decor for the home!

Have you tried the Cricut EasyPress? I’d love to hear what mediums you’ve used.


It’s really awesome! this looks so simple. makes me want to try it. I love your tutorials! You have a wonderful teaching style!