This infusible ink post contains affiliate links.
Have you tried Infusible Ink from Cricut yet? It’s such an amazing new product, gets results unlike anything Cricut has created in the past, and gives projects an entirely different, unique look. I made a cute little mermaid shirt for Tate and I wanted to show you how to use Cricut Infusible Ink and show the neat results you get with this new product!

What is Infusible Ink
Infusible Ink infuses right into the fabric rather than creating an image on top of fabric like heat transfer or iron-on does. The process is similar to sublimation but, with Infusible Ink, you don’t need a special sublimation printer. Cricut has created transfer sheets and pens that eliminate the need for that process.
What You Need to Create Infusible Ink Projects
You’ll need a few supplies to make an Infusible Ink project. First, you’ll need the blank that you’re going to use. Infusible Ink won’t work on just any item. You need to use something that has been made for Infusible Ink {like a specific Cricut blank} or compatible sublimation blanks. Cricut can assure you’ll get the results you want by using their blanks and obviously can’t make that assurance with other products.
{I found that the Cricut shirts tend to fit a bit on the small side, at least in the children’s sizes, so you may want to choose a size larger than your regular size.}
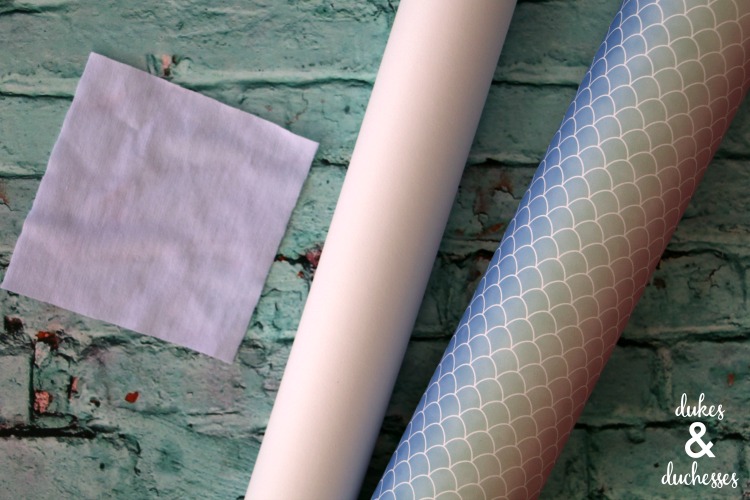
You’ll also need Infusible Ink pattern sheets, the green standard grip or blue light grip mat {I prefer the light grip}, a piece of white cardstock, butcher paper {this is included in the box with the transfer sheets}, a fine point blade, a lint roller, and an EasyPress machine {an EasyPress 2 for best results} and EasyPress mat. You’ll also obviously need a Cricut cutting machine. You can use Infusible Ink with both the Cricut Maker and the Cricut Explore family.

It may feel like you need a lot of things to tackle an Infusible Ink project but the packages of Infusible Ink transfer sheets contain a couple of different things that are needed for projects: the transfer sheets, butcher paper, and a lint cloth {to use for projects that are not fabric}. For fabric projects, you do need a lint roller for best results so you may want to grab an extra one at the dollar store and keep it next to your craft area.
You’ll notice that the transfer sheets appear much lighter and almost washed out. For an accurate idea of the final color, look at the box instead of the actual transfer sheets. Once infused, the color will be bright and bold.
How to Create a Design to Use with Infusible Ink
To create a design for an Infusible Ink project, you’ll simply create in Cricut Design Space like you always do. To make this mermaid shirt, I selected a mermaid tail image and added the text I wanted {I used a script text, moved the letters together, and attached them}.
Don’t forget to mirror the design before cutting!
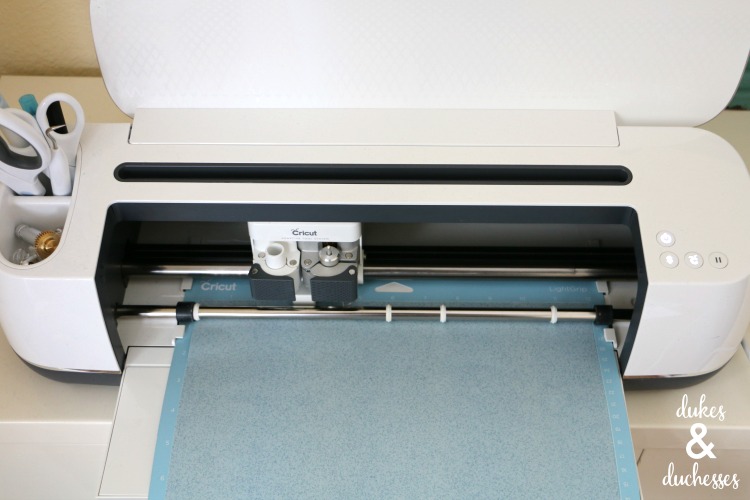
Use the Infusible Ink custom setting, place the Infusible Ink transfer sheet on a green or blue mat {I prefer blue because it’s much easier to remove after} with the pattern side up, and cut.
How to Prepare the Design for Transfer
You’ll use a slightly different method to prepare the design for transfer to the blank. Rather than weeding like you usually do with heat transfer or iron-on, you’ll use a cracking method instead. Peel the Infusible Ink away from the mat, then slightly bend and roll. You’ll see the design pull away.
Remove what you can {make sure your hands are clean} and use tweezers to remove anything that’s left. Don’t use weeding tools.
Be careful no small specks remain. Trimming the background close to the design can help eliminate that.
How to Apply Infusible Ink
To apply the design onto the blank, a shirt in this case, place the shirt on an EasyPress mat then slide a piece of white cardstock inside the shirt. This will prevent any of the design from going right through to the other side.
Use the lint roller to remove any lint or debris from the shirt. You want to ensure the design sits flat on the project and even a small piece of lint can affect the final result.

Place a piece of butcher paper on top of the shirt then using the EasyPress 2, set at 385 degrees, press for 15 seconds to remove any moisture
Allow the shirt to cool completely. If the shirt is still warm when you place your design down, the transfer can begin, affecting final results.
Once the shirt is cool, place the design on the shirt, cover with butcher paper, and press for 40 seconds {still at 385 degrees}. Apply light pressure and don’t move the EasyPress around at all.

When the timer goes off, lift the EasyPress straight up.
Let the design cool then remove the backing when it’s still warm.

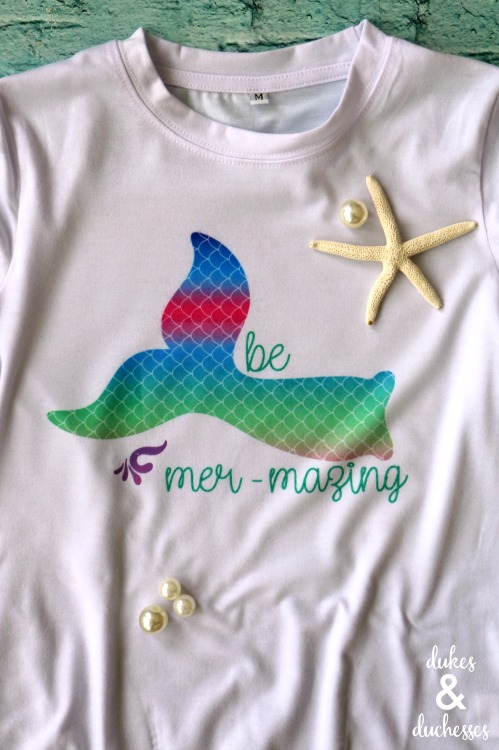
You won’t believe the bold results!
I added the text next but should have applied it all together in one layer or I should have trimmed the backing so it didn’t sit on top of the mermaid tail I had already applied. You can see that it faded the color in that area.
If you peel the plastic away and the paper layer stays behind, don’t worry. Just use tweezers to carefully lift it off.

I added one more little swirl to the design, this time trimming the lining so it didn’t overlap on top of any of the previously applied design and that worked perfectly.

This little shirt turned out really cute and my daughter loves it.
I can’t wait to experiment more with Infusible Ink products and continue the learning process. For those that feel a bit overwhelmed about this new technique and the additional things it requires, I’d tell you to go for it and tackle a project. It’s very easy to use and the results are so different than iron-on. It will take your crafting to a whole new level!




Leave a Reply