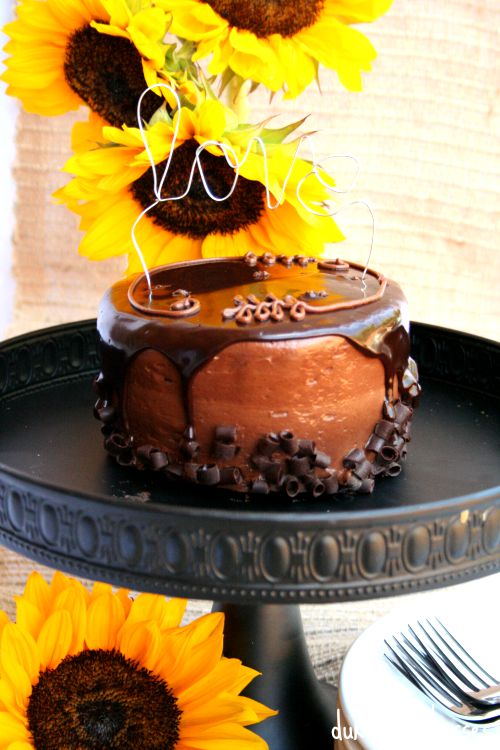
I’ve seen some really fabulous wire cake toppers in photos lately and I decided to try making my own DIY wire cake topper to suit any occasion. It was actually quite a fun little project and the outcome is cute and whimsical and can be perfectly personal for a party or other special event like a baptism or an anniversary.

To make a wire cake topper, you’ll need thick craft wire in any color, needle nose pliers, and another pair of regular pliers. You’ll also need scissors.

Cut a large piece of wire, at least two feet long {you don’t want to run out of wire in the middle of a word}. Leave a tail on the end {to poke into the cake} and start creating the word. Don’t try to make it perfect, just start twisting the wire into cursive letters and adjust as you go.
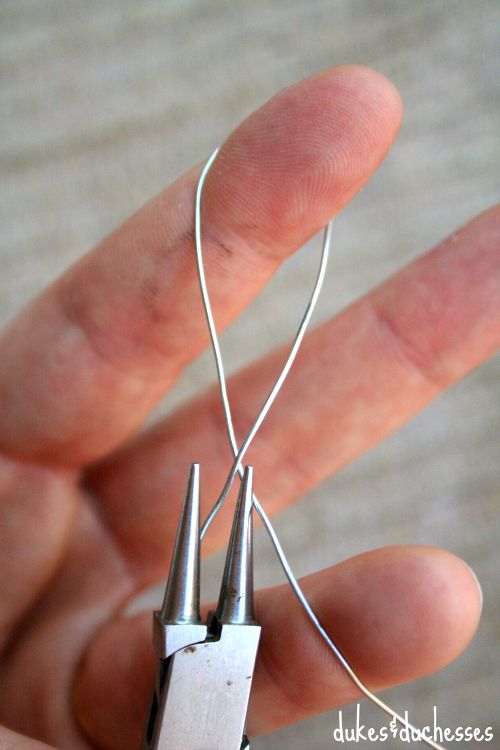
To make loops, wrap the wire around your finger. When making letters with loose, loopy circles, twist the wire around to hold it in place. Use the needle nose pliers to pull it tight. The needle nose pliers also work great for making points on letters. Use the regular pliers to squeeze the wire together as needed.
You really can’t go wrong and if you don’t like the way a letter looks, continue to adjust it until you get the style you want.
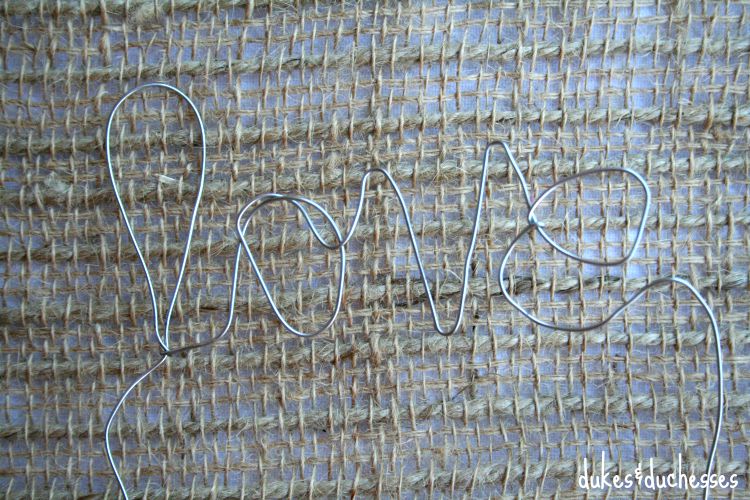
If you have a tough time free-handing something, you can always print out a word in a font you like and lay the wire over top to form it.
When the word is formed, leave another tail on the opposite end and trim as needed. Wash both wire ends then poke them into the cake or cupcakes …
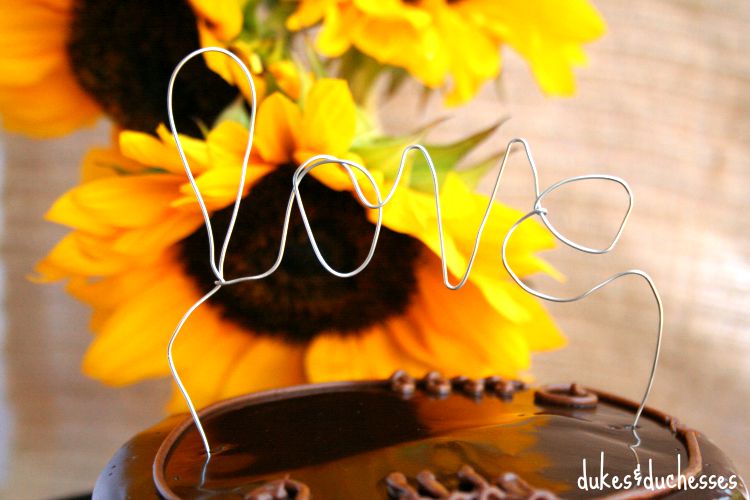
… for a sweet {and cheap!} way to top a cake.


Leave a Reply