This pie or cake stencils tutorial includes affiliate links.
I love Valentine’s Day! Despite the curve balls that life has thrown my way, I think love is a pretty fabulous thing and something to be celebrated, whether it’s on Valentine’s Day or every other day of the year. And what better way to celebrate than with a message on a cake? These DIY pie or cake stencils take just minutes to make with your Cricut and they turn a grocery store cake, pie, or cupcake into something pretty fun and a whole lot more memorable!

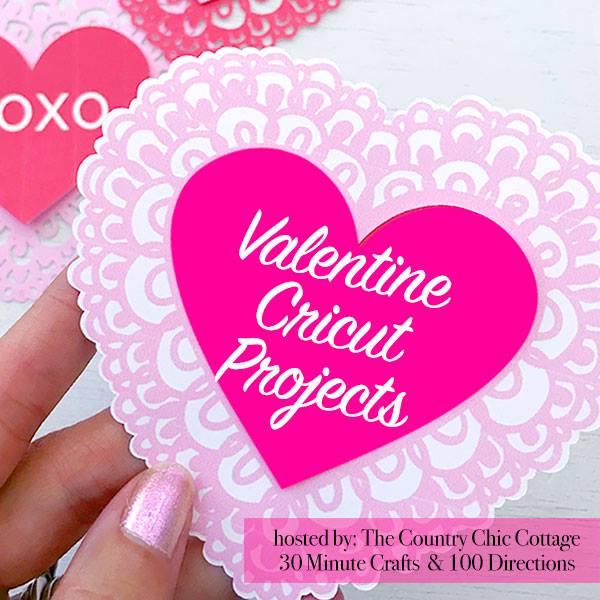
You can check out some other fun Valentine’s Day Cricut projects as well because I’ve joined in a blog hop with a handful of other creative bloggers to bring you some Cricut-themed ideas for the big day! Keep reading through my tutorial then click on the links below to see the other ideas!
Ready to make some pie and cake stencils?
All you need for this fun and romantic idea is a Cricut machine and access to Cricut Design Space, any color of cardstock, powdered sugar and cocoa powder, and cakes, pies, or cupcakes. If you’re using a storebought cake or cupcake, gently scrape off any embellishments on top of the cake and smooth the icing.
To create the design in Design Space, draw a circle the size of the diameter of the cake.
Create the text you want {feel free to use one of the ideas I shared or come up with your own puns!}. I used the Birthday Bash font but you can use anything that’s slightly blocky. Drag the text within the circle and size it to fit.
Depending on the font you use, you may want to bring the lines closer together. You can do this by decreasing the line spacing. With certain fonts, you may still not get exactly the spacing you want so there’s another simple way to move the lines together. Click on Advanced and select Ungroup to Lines. This will allow you to move the lines wherever you want.
Once the design looks the way you want, select the entire circle and text and click Attach. This will join it all together so it’ll cut the way you see it on the screen.

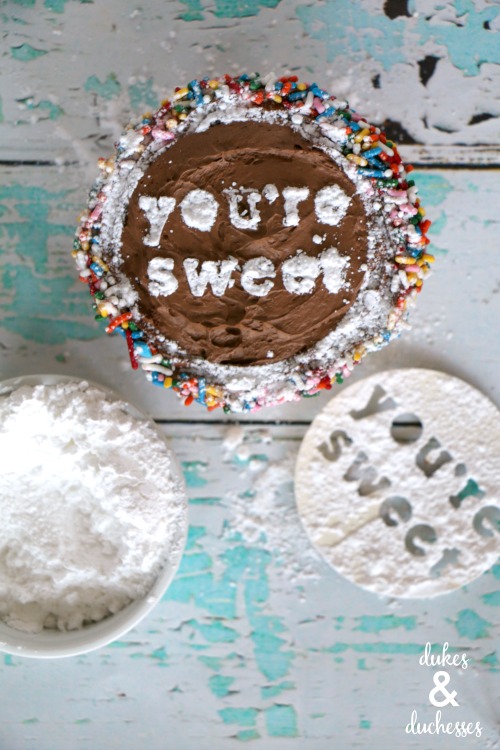
Send the design to your Cricut machine and cut it out on cardstock or kraft board to create the cake stencils.

Then you’re ready to decorate the cake!
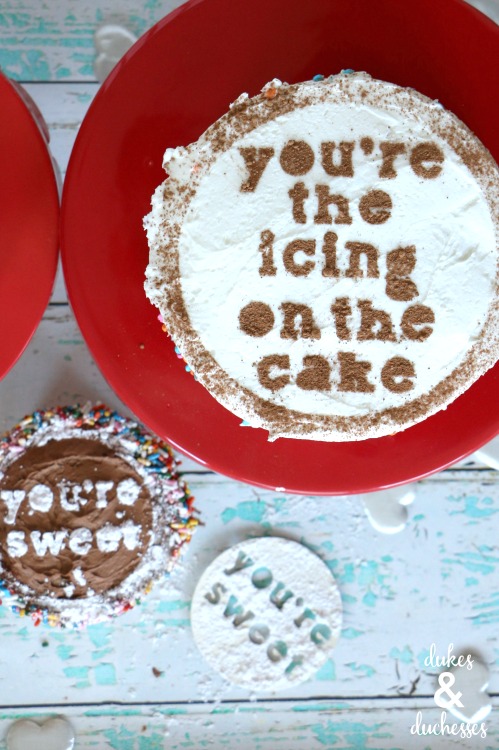
To decorate a dark colored cake, like chocolate, use powdered sugar. To decorate a light colored cake, use cocoa powder.

Gently place the stencil on top of the cake, pie, or cupcake. Press it down only enough so sugar won’t seep under the letters but not too much that it’ll be hard to lift off without wrecking the icing.
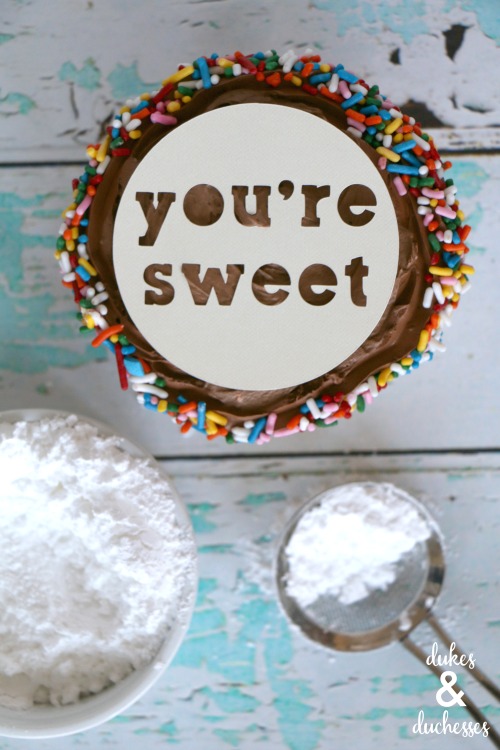
Fill a sifter spoon with powdered sugar or cocoa powder and gently tap the spoon to sift the powder over the stencil. Cover the openings completely but try to avoid covering them too much or you won’t be able to read the letters as well.

The sugar on this cupcake is a bit heavier than you want but it’s still legible. Gently lift the stencil off the cake to reveal the message!
The look is so cute and no one will believe how simple it was!

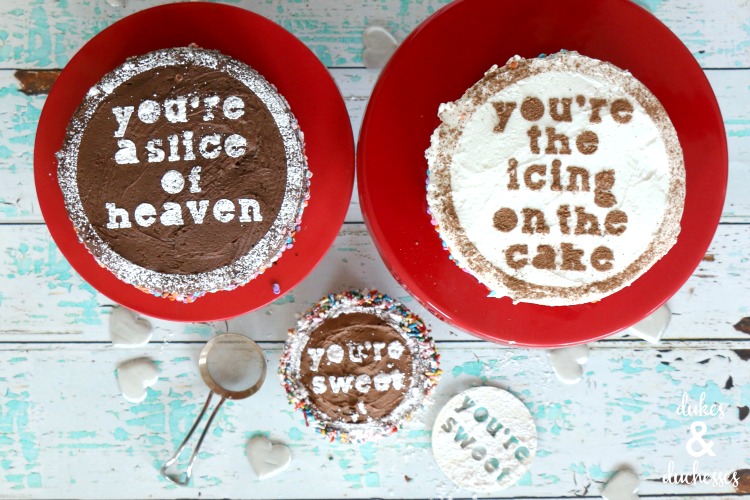
Create one special cake …
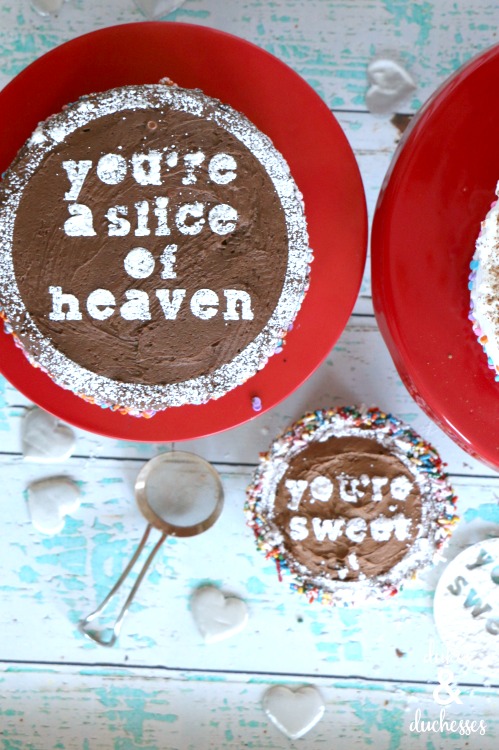
…or make a few different designs and set up a dessert bar for Valentine’s Day!
Wouldn’t this be a fun idea for a Galentine’s celebration?
For more Valentine’s Day ideas, check out these cute ideas!


OMGosh what a great idea!
These are so adorable! What a great way to dress up a plain cake! Thanks for sharing with us at Snickerdoodle. Pinning.