This fabric luggage handle post contains affiliate links.
Do you travel a lot? Or have you got a world traveler on your Christmas list? Make a DIY monogrammed fabric luggage handle to cover the handle of the suitcase and make identifying a suitcase so much easier! This personalized bag handle is really quick and easy. It does involve a couple of quick swipes on the sewing machine but if you can stitch a straight line {or even a not-so-straight line!} you can make this in minutes!

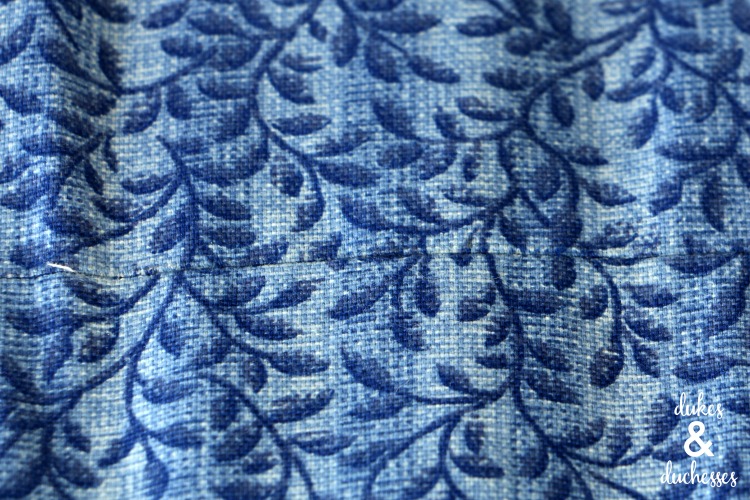
To make a monogrammed luggage handle, you’ll need a scrap of fabric, a strip of velcro, and iron on heat transfer for the monogram.
Alternatively, if you have an embroidery machine or you like to hand stitch, you could make the monogram that way. If you do that, you’ll add the monogram before you stitch it all together rather than at the end.

Measure the handle of your suitcase and then cut the fabric accordingly, leaving about half an inch for a seam allowance.
I cut the fabric about 9.5 inches wide {you’ll fold it in half so you need to cut it double the length of the handle plus a seam allowance} and about 5.5 inches long.
Fold the fabric in half, right sides together, and stitch a seam, then turn it right side out and press.

On each end, fold the raw edge over about 1/4 to 1/2 of an inch and stitch the velcro over it, stitching around the outside of each velcro piece.
Be sure you stitch the velcro on the inside on one end and the outside on the other end so it’ll close properly.

That’s all the sewing that’s required!
To finish the bag handle, use a cutting machine to cut letters or a decorative monogram out of iron on heat transfer and adhere it to the center of the luggage handle. {I always use the Cricut EasyPress or EasyPress 2 to adhere iron on to get flawless results.}

The fabric wraps around the handle of a suitcase or bag …

… and makes it really easy to spot the right suitcase, even if it’s black in a sea of other black luggage!

Happy travels wherever you may go!


Leave a Reply