• Home
  • Start Here
    • About Dukes and Duchesses
    • Collaborate/Contact
    • Privacy Policy
  • Holidays
    • New Year’s Eve/Day
    • Valentine’s Day
    • leap year
    • St. Patrick’s Day
    • April Fool’s Day
    • Easter
    • May Day
    • cinco de mayo
    • Mother’s Day
    • Father’s Day
    • Fourth of July
    • Halloween/Harvest
    • Thanksgiving
    • Christmas
  • Crafts
    • general crafts
    • Cricut projects
    • printables
    • painting
    • sewing
    • knitting
  • DIY
  • Repurposed
  • Parties
    • Birthday
    • Entertaining
  • Recipes
  • Home Decor
    • Decor
    • home improvement
    • plants and garden
    • housekeeping
    • organization
  • travel
    • general travel
    • Dallas

Dukes and Duchesses

Dallas Fort Worth Creative Lifestyle Blogger

creative projects Cricut · Written by Randi Dukes

DIY Letter Board Accessories

609 shares
  • Tweet46
  • Share101

This DIY letter board accessories post contains affiliate links.

I love the felt board and letter board trend and I finally bought one a few weeks ago.  You’ll probably be seeing it in future party posts and maybe even a few home decor posts.  I think they’re such a fun way to personalize a home!  I also love all the words and accessories you can buy but I didn’t want to spend the money on extra sets … so I made my own using my Cricut Explore Air 2!  It was so easy to make these DIY letter board accessories and the sky’s the limit.  You can make all kinds of words and symbols to personalize your own letter board any way you like!
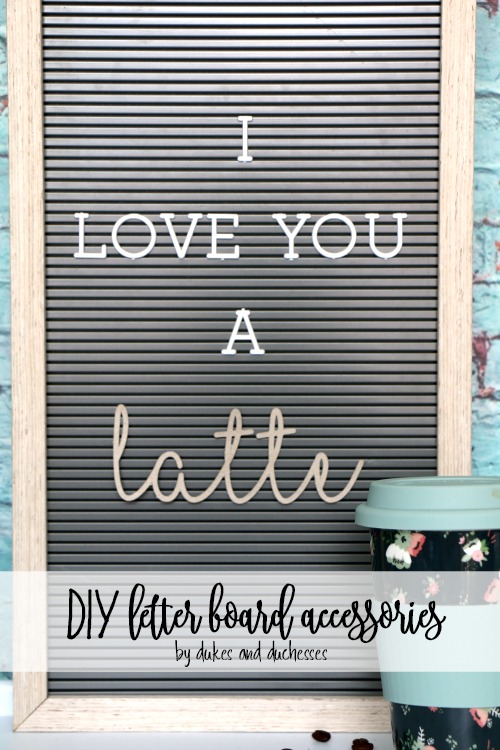
DIY letter board accessories

To make letter board accessories, you’ll need kraftboard or poster board.  Cardstock will work too but you want it to be thick enough that it can hold its form and won’t tear easily with handling.

Use Cricut Design Space to create the text and shapes.  The shapes are self-explanatory but the text needs a few modifications before you cut.

Create a word using a cursive font.  I used I Love Glitter.  The letters will all be separate and they obviously need to be joined before you cut.  You can decrease the letter spacing but it won’t always join the letters together equally.  Instead, click on Advanced in the tool bar and Ungroup to Letters.  Then select each letter and move it over until it’s touching the letter next to it.  Use the Align feature to align the letters to the top or center, depending on the font you use, then select the entire word and Weld it together.  This will enable it to cut as one word instead of cutting as separate letters.

Cut the text and symbols on your Cricut …

DIY text for felt boards

… and paint them as desired.  A light coat of craft or spray paint will work perfectly.

DIY text symbols for feltboards

When the accessories are dry, use hot glue to add a piece of plastic or kraftboard to the back to fit between the rows on the letter board.  I used the scraps from the letters that came with my letter board but small pieces of  kraftboard work well too.

DIY letterboard hashtag

It’s as simple as that! 

DIY hashtag for letter board

Use the text and symbols along with the regular letters to create fun messages …

DIY letter board symbols

… create changeable signs for your home …

DIY felt board sign

… and messages for family and loved ones.

DIY felt board words

What words would you create for your letter board sign?

DIY accessories for letter boards

For more fun projects to make with your Cricut machine, be sure to check out this mug that’s perfect for a tea lover …

tea lovers mug

… monogrammed rubber boots to keep you stylin’ on those wet, rainy days …

monogrammed rubber boots

… and a wood veneer wreath that’ll add a fun pop to your home decor!

wood veneer floral wreath made with cricut explore air 2


5 Comments

About Randi Dukes

I’m Randi, a Dallas-based mom of five kids, ranging from third grade to college and including a set of twins. I love strong coffee, craft and DIY projects, my planner, and my big ol’ family. When I’m not creating something for my blog, I can be found in the car, running kids from one place to another. I’m the one knitting at the red light. Connect with me on google+ | twitter | facebook

« Hatch Chile Bacon Mac and Cheese
Glow in the Dark Kindness Rocks »

Comments

  1. Rachel says

    August 22, 2017 at 12:05 pm

    Oh.my.gosh. This is so smart! Literally smacking myself for not thinking of it lol

    Reply
  2. mary says

    August 22, 2017 at 1:16 pm

    What a great idea!

    Reply
  3. Victoria @DazzleWhileFrazzled says

    August 25, 2017 at 6:15 pm

    Cute! I have grand plans of making myself a letter board. It keeps getting moved down the list, lol! Visiting from Creative Collection party.

    Reply
  4. Jodie says

    August 30, 2017 at 6:33 am

    I need to get one of these boards. My daughter & her friends will LOVE being in charge of it.

    Come share at Reader Tip Tuesday.
    We’re open all week & growing. Hope to see you at the party. xo

    Reply
  5. Deb Pearl says

    November 13, 2017 at 10:06 am

    I have been wanting to do a fun project with my daughter and I think this would be a really fun activity! I love the idea of doing letter boards with her! Making our own letters and accessories for it would be really fun as well! I like how you mentioned that you add a piece of plastic or craft board to the back to help keep them on the letter board! That is a great idea! Thank you!

    Reply

Leave a Reply Cancel reply

Your email address will not be published. Required fields are marked *

  • Facebook
  • Instagram
  • Pinterest
  • Twitter
  • YouTube

Welcome to Dukes & Duchesses!

randi dukes

I’m Randi, a mom of five living in Dallas. I love strong coffee, long lists, bright colors, thrift stores, repurposed junk, and power tools.

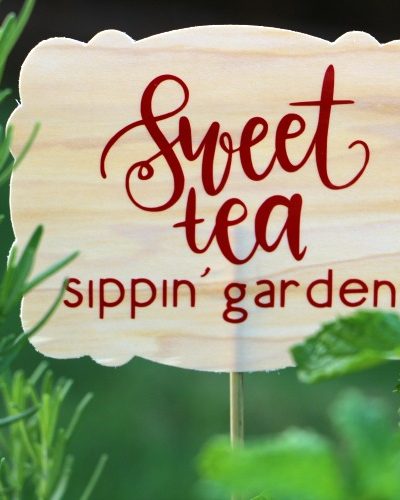
how to plant a sweet tea garden

Southern Sweet Tea Container Garden

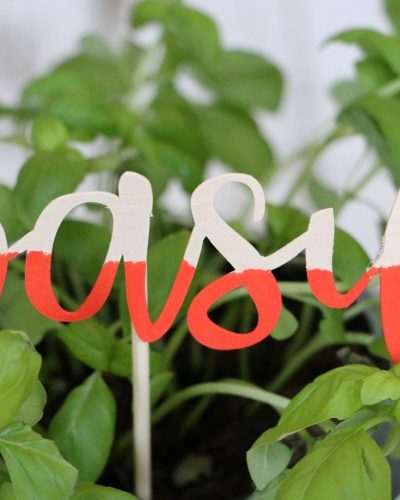
colorful wood DIY garden marker

DIY Wood Veneer Plant Markers

creative outdoor garden ideas

8 Creative Ideas for Your Outdoor Garden

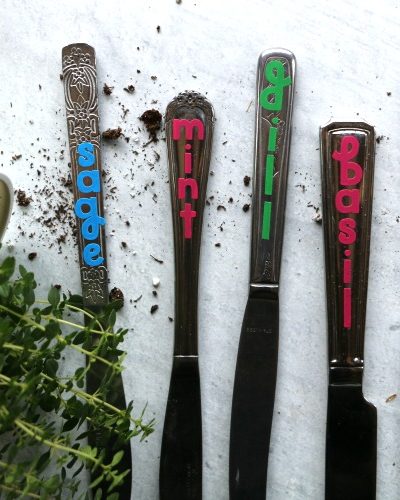
DIY herb garden markers

DIY Upcycled Knife Garden Markers

upcycled cutting board sign in beverage garden

DIY Beverage or Cocktail Garden

Dukes and Duchesses is a participant in the Amazon Services LLC Associates Program, an affiliate advertising program designed to provide a means for sites to earn advertising fees by advertising and linking to Amazon.com.
Any content on this website is created for inspirational purposes only. You assume your own risk for using any methods, tools, or supplies suggested here. Follow proper guidelines for every tool or supply used and obtain professional guidance as needed.

Copyright © 2025 · Randi Dukes · Wordpress Hosting by SERVOUSLY