These custom cloth napkins were created as part of a sponsored post for Cricut. All thoughts and opinions are my own. The post contains affiliate links.
With the holiday season approaching, I spend a lot of time thinking about tablescapes: the dishes I want to use, what linens I’ll pair with them, and how I’ll create a centerpiece. Cloth napkins are a great way to add color and pattern to the table and these custom cloth napkins add a little fun and whimsy as well! I created these with eat, drink, and be merry text but you can obviously customize them any way you want.

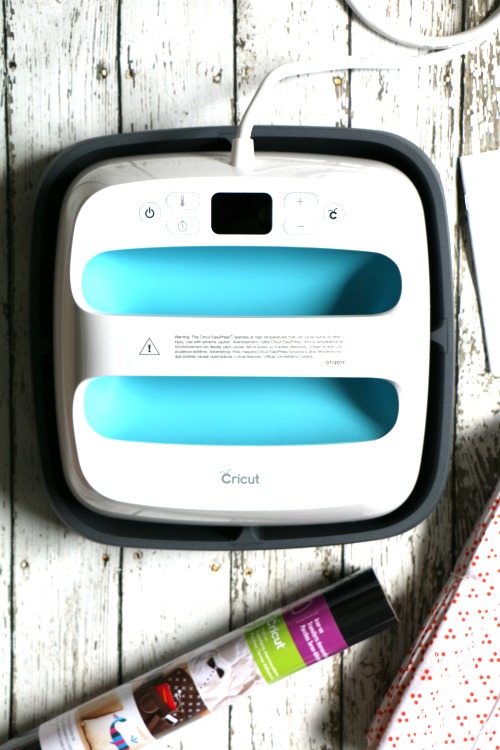
I made these cloth napkins using the new Cricut EasyPress and I can’t tell you how much I love this little machine!
I’ve avoided using iron-on vinyl or heat transfer for a while now because ironing it on with a regular iron gave me such inconsistent results. Since I couldn’t regulate the temperature of my iron, there was always a lot of guesswork in terms of temperature, length of time to press, and the materials I was using. Having the pattern lift off a project after the first wash was so discouraging that I quit using any iron-on products.
Until now! The new Cricut EasyPress takes the guesswork and inconsistency out of the equation. With an evenly heated ceramic plate and simple digital controls, you can have iron-on success in sixty seconds or less!
To make these custom cloth napkins, you’ll need to buy a set of napkins {you can find cute, affordable napkins at World Market or Home Goods} and design the image online.
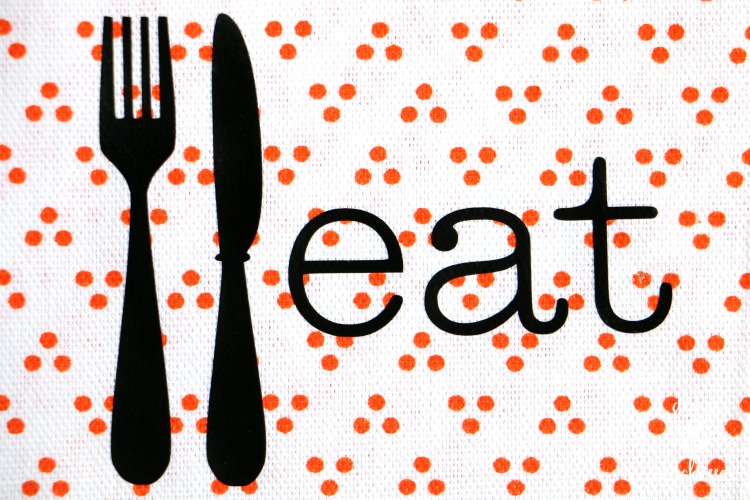
Insert a utensil image from Cricut Design Space then ungroup it and delete the utensils you don’t want.
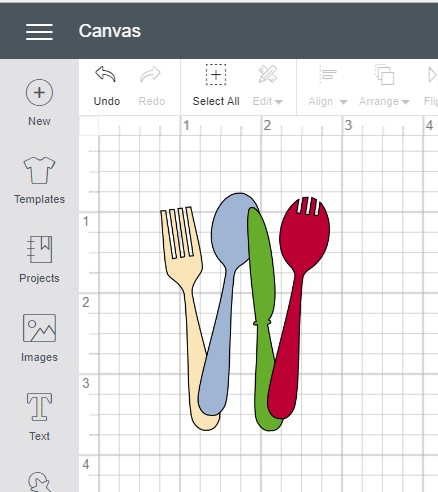
Straighten out the knife and fork and then add text next to them, sizing all the text the same and using the align function to center the words and utensils vertically. {Tip: when you have a screen full of items and want to select only certain things, hold down the control button and click on each item that you want to select together.}
To make more than one napkin with the same design, simply select all the pieces, attach them, and duplicate. Attaching the pieces together will make them cut in the same way that you see them on the screen so you don’t have to try to piece them together after cutting.
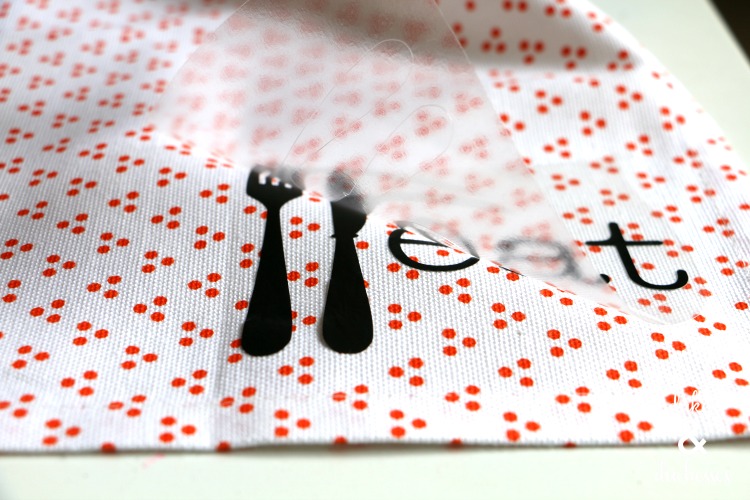
One more tip before we move on to the next step. Sometimes the spacing of a font doesn’t look right to your eye. In the image below, you can see that the t appears to be too far out because the spacing is judged by the outermost parts. You can pull letters together by decreasing the letter space number but that will pull each letter together in equal amounts and sometimes you just want to pull one letter in. To do this, click on advanced and select ungroup to letters. This allows the letters to be treated separately. Slide the letter where you want it, select all the letters and align them {align to the bottom or center depending on the font}, then select them all and attach them together again. This simple step allows you to arrange letters any way you want without limits.

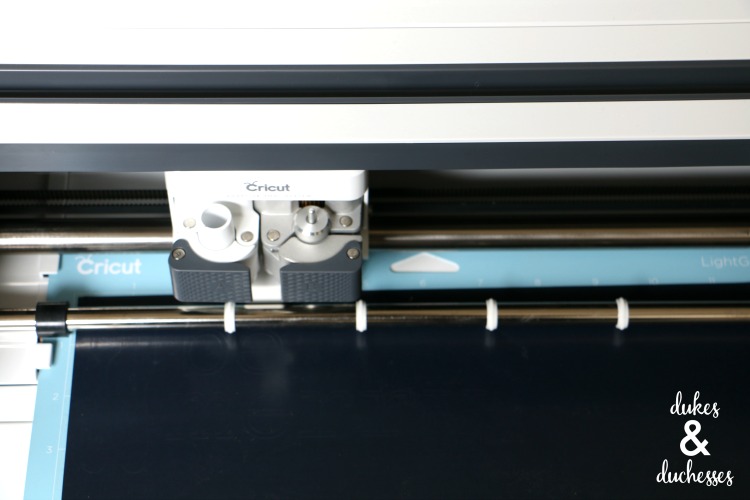
Once the design is created the way you want it, send it to the Cricut Maker or Cricut Explore Air 2 to cut. Don’t forget to select the mirror option so the text will cut correctly.

Cut on a light grip mat with the shiny side of the iron-on vinyl facing down.
Once the pieces are all cut, place the iron-on vinyl on top of the Cricut BrightPad to illuminate the project and make the cut lines easier to see for weeding. This is another tool that I love … and if I’m nowhere near an outlet, it can plug into my laptop with a USB cord and power up. This simple tool is saving my poor old eyes one project at a time {wink}!

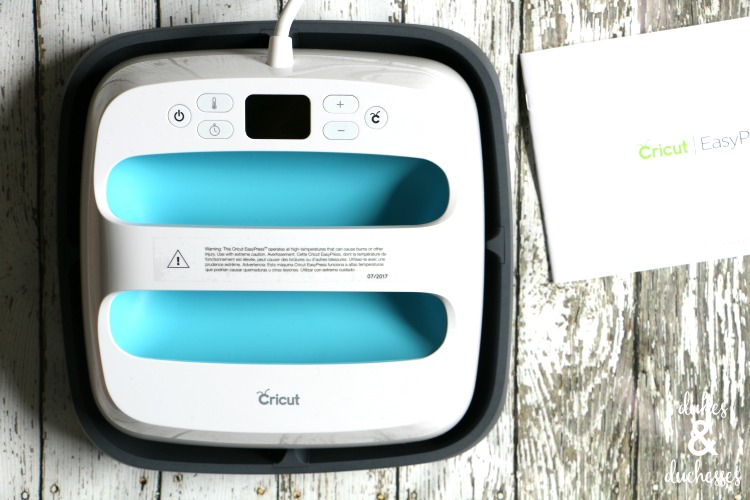
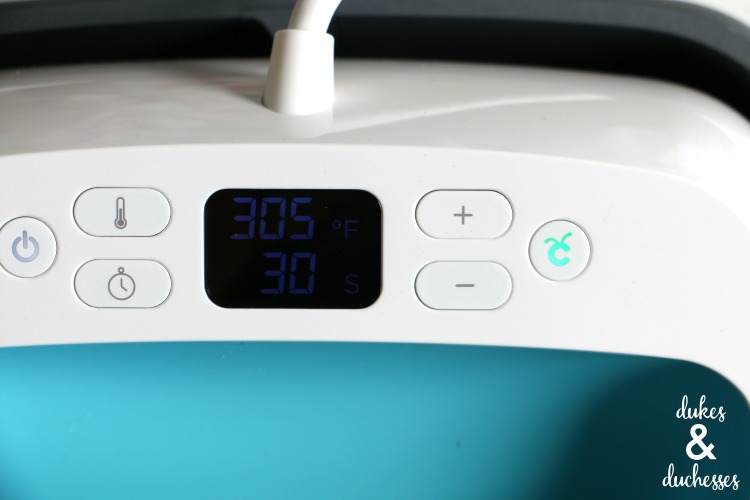
Once the project is cut and weeded, it’s time to adhere it to the surface with the Cricut EasyPress. Plug it in, turn it on, and refer to the guide for the appropriate temperature and time setting depending on the materials being used.

The machine will show you the temperature as it heats up and the button will remain yellow.

When it’s ready to use, it’ll beep and the button will turn green.
For best results, preheat the base fabric for 3-5 seconds to remove wrinkles and moisture …
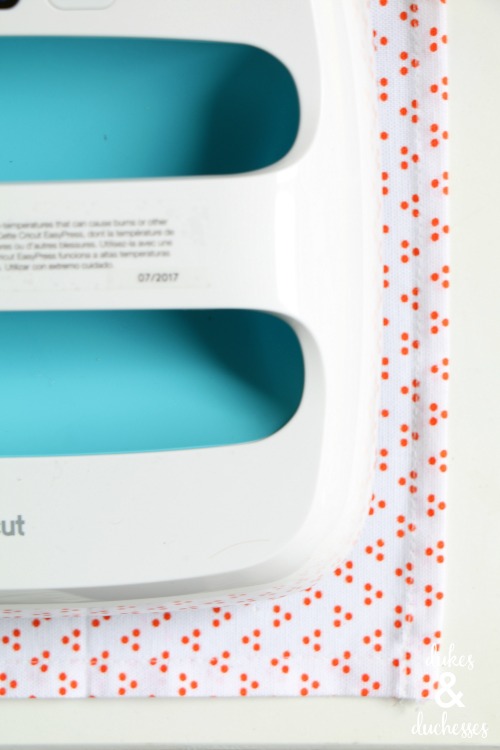
… then lay the design in place on the fabric with the shiny side facing up.

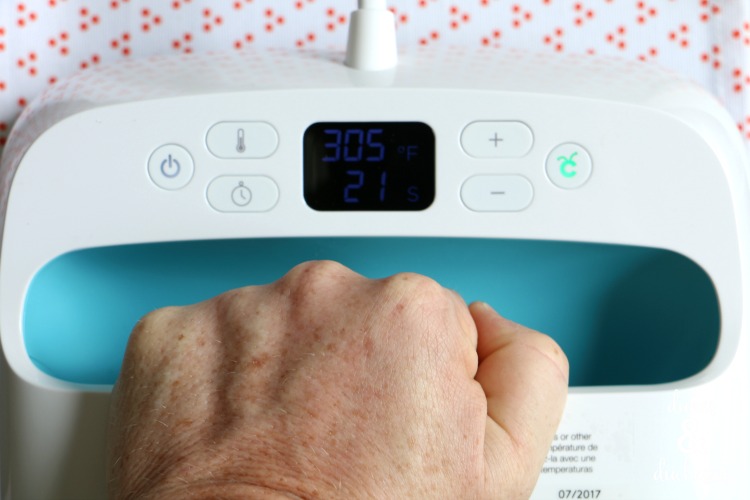
Place the Cricut EasyPress on top of the design, press the button to start the timer, and apply gentle pressure until it beeps.
Flip the napkin over and repeat on the back side with the same settings.
Let the item cool completely before removing the liner. Don’t rush it even though you’ll be tempted to. The only time this process has failed for me is when I didn’t let it cool all the way.
If you do start to remove the liner and the design lifts at all, lay the liner back down and reheat it for a few more seconds.
Once you peel the liner off, the napkin is done! Isn’t it cute?
I love the entire eat, drink, and be merry set!

These will get a lot of use during the holiday entertaining season …

… and, with the bright colors, they’ll be perfect year round.

They’d make a really great gift for your favorite hostess, too!

What text or design would you put on custom cloth napkins?


Those are so cute! I didn’t know that Cricut made this particular kind of tool. Very cool!
It’s brand new … they just revealed it this summer!
They are so cute. Cricut has come a long way from their original machine, so many more thing you can do now.
I really need to buy one of these machines. There’s so much you can do with it! This would be so much fun. I would go crazy with all the ideas that I want to do.
This is so cool and what a neat machine. I bet my daughter would love this!
I absolutely LOVE this idea! I’m not crafty but I think I could do this.
These are so many fun projects I would love to do with one of these machines. I have a birthday coming up soon. I will have to add it to my wish list.
I just love this. I had a circut when they first came out. They have came a long way since then. I just love what you did, this would be perfect for party napkins.
These are so cute! So perfect for parties and holidays!
Wow what a cool device, I will be constantly creating with it! Wow
Cri-cuts really are so cool for all kinds of projects! I haven’t thought about the napkin thing!
These would be amazing for holiday get-togethers. They are really super cute.
I would love one of these devices!! How cool are these napkins!
Those turned out great. Perfect for hosting parties or holidays.
So cute! I have had terrible luck with iron on, so I avoid it even though I have so many great ways I want to use it! This easypress is definitely on my wish list! Thanks for sharing!
very cute~ are you limited in size? the press part doesn’t look very big
It has a 9×9 base which is big enough for most images on shirts, etc. If you’re doing something really large, you just press it in sections.