When Luke turned nine a few weeks ago, he asked for a go kart kit. I found a simple go kart kit online {affiliate link}, but decided that my Dad and I could design a similar one and build it without buying a kit. Luke’s DIY go kart turned out great and I thought I’d share the plans here.

To begin, gather your supplies. You’ll need 3/4 inch thick plywood and 2×4’s. The cutting guides can be downloaded here: go kart cutting guide, plywood cutting guide, and hand brake cutting and placement guide.
You’ll also need the following hardware: 11-3/8 x 1 1/2 inch fender washers, 4 flat washers, 3/8 x 3 inch hex bolt, 3/8 inch stop nut, 4-3/8 inch nuts, 1/4 inch lag screw, 3/8 inch thick threaded rod, 3 inch outdoor wood screws, 1 3/4 inch outdoor wood screws, nylon rope, and four wheels {affiliate link}.
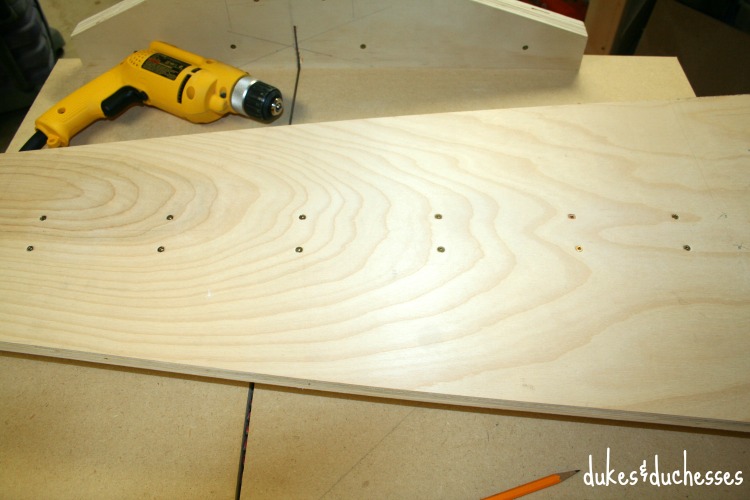
Make all the cuts according to the guide, then begin assembling. Lay the center beam down the middle of the seat and line up the support boards …

… then screw them into place.
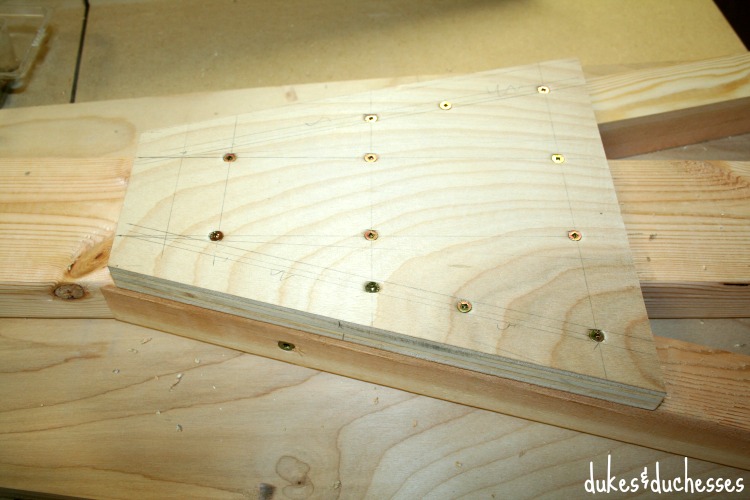
Attach the fish plate to the bottom to fasten the members together.
To assemble the front axle, assemble in this order {from left to right}: place the front axle bolt through one fender washer and a pre-drilled hole in the center board with its pointed end {this will sit on top of the axle}, add two fender washers, push it through the 2×4, and add another fender washer and a stop nut.

The finished assembly will look like this.

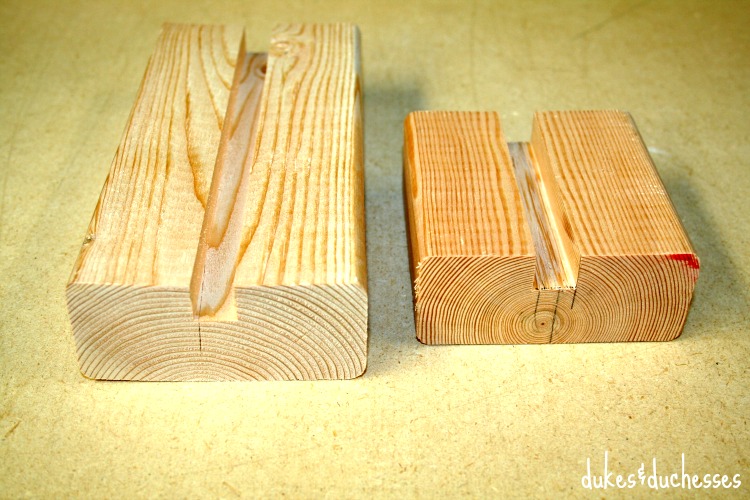
To make the axle grooves, you can use a table saw or a router. Both techniques are shown below {the router was used on the piece of wood on the right} and both will give very similar results. If you’re using a table saw, set the blade to the depth of the axle {3/8 inch} and make side by side cuts until you have a section 3/8 inches deep. If you’re using a router, simply cut the groove with a width and depth of 3/8 inch.
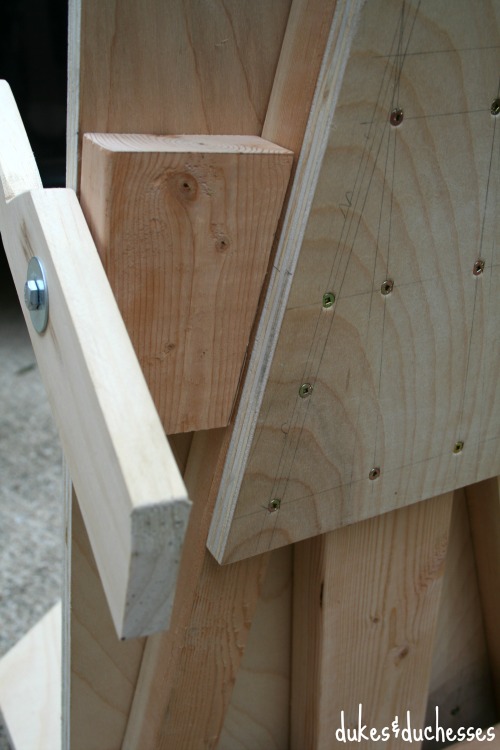
Cut the grooved piece into four sections, each about four inches long …

… and use four screws to attach them to the end of each solid axle piece.

Cut the threaded rod to the appropriate length and place it through the groove. {This photo was taken once the rope was already in place so ignore the knots that you see under the rod.}

Attach the wheels in this sequence: on the axle, place a fender washer against the blocks, add two flat washers, the wheel, another fender washer, a nut, and another nut used as a jam nut. Repeat for each wheel.

Measure the rope length for your child, adding a little extra for tying, thread it through holes in the front axle and tie knots underneath the axle. Using a match, melt the ends of the rope so the knot won’t come undone.

Add the seat back, attaching the supports in place, and screw the seat into the pieces of 2×4 as seen in the photo below.

From the side, you can see that the seat back will sit at a fifteen degree angle on the base.

The final step is to attach the brake. And I use that term loosely. This brake will not stop a speeding go kart. My son actually calls it the slower-downer. And that’s quite accurate. It uses friction on the ground to slow the go kart but takes time to bring it to a full stop. If you build this go kart for your child, please make sure they understand that.
Cut the brake as per the downloadable diagram above and attach it to the go kart using a 1/4 inch lag screw, two fender washers on the inside, and one fender washer on the outside.

When viewed from the bottom of the go kart, you can see how the block fits underneath with the brake attached.
With regular use, the brake will loosen up. Be sure to tighten it regularly.
That’s all there is to it! My engineer dad did such a great job designing this knock-off … but next time, I’ll have him write down each step along the way {wink}! If you get stuck anywhere in the process, send me an email and I’ll clarify!

In the meantime, we’ll be cruising down the driveway in this fun DIY go kart {and yep, I’ve taken a turn or two}!

Note: this go kart should be used while wearing a helmet and should not be used without adult supervision.


Very Cool! I’m pinning for later. Found you over at the Pin Junkie blog hop.