This framed tissue paper wall art post contains affiliate links.
We moved into a new house last fall and we’re completely settled with one exception: most of the walls are still totally bare. I’ve been slowly hanging some of the pictures I love and finding new things to decorate the walls. This week I used my Cricut Maker to create this framed tissue paper wall art for my daughter’s room and I wanted to share how simple it was!

This tissue paper wall art is not entirely conventional in that it involves using a glue stick to attach tissue paper to the wall. To me, it’s nothing a little water won’t ultimately wash away … or a sander won’t scrape away in the worst case scenario {wink}. But I’ve also been known to hot glue backdrops to the wall so you’ll have to decide what you’re comfortable with … or find a slightly different option {I suggest a couple of other options below}.
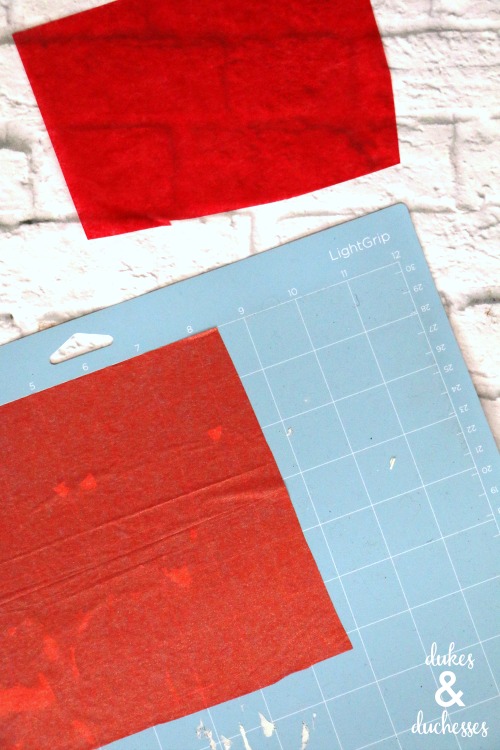
To make the wall art, you’ll need a frame and tissue paper. If you don’t already have a frame you can reuse, hit up your local thrift store to find one for just a dollar or two. If it’s the wrong color, update it with a coat of spray paint.
Create your design in Cricut Design Space, using a font you like {I used birthday bash because I like that it’s slightly off-kilter} and spacing it out in a way that appeals to your eye and then prepare to cut.
Smooth the tissue paper gently onto a LightGrip mat. You want it to adhere but you don’t want it to stick tightly or you’ll have a hard time peeling it off.
Set the Cricut Maker settings to tissue paper and be sure you have the rotary blade in place. This is what will allow you to smoothly cut the tissue paper.
Once cut, remove the negative space {the pieces you don’t want} slowly so you don’t tear the design then use the spatula tool to carefully remove the letters from the mat, gently lifting the edges and then slowly peeling the letter off the mat.
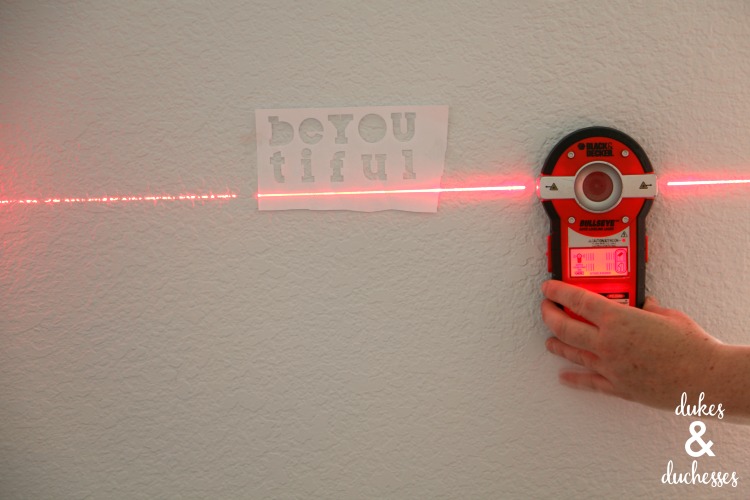
To place the letters easily in formation on the wall, you’ll want to create a paper stencil guide. Go back into the design, attach all of the letters together, and cut a paper stencil out of regular printer paper. You’ll use the StandardGrip mat and fine point blade for this part.

Tape the stencil to the wall and use a laser level or other method to ensure it’s sitting straight.
Then comes the unconventional part {smile}. I feel a bit like Hildi the time she glued all that hay to the wall on an early Trading Spaces episode. Does anyone remember that?
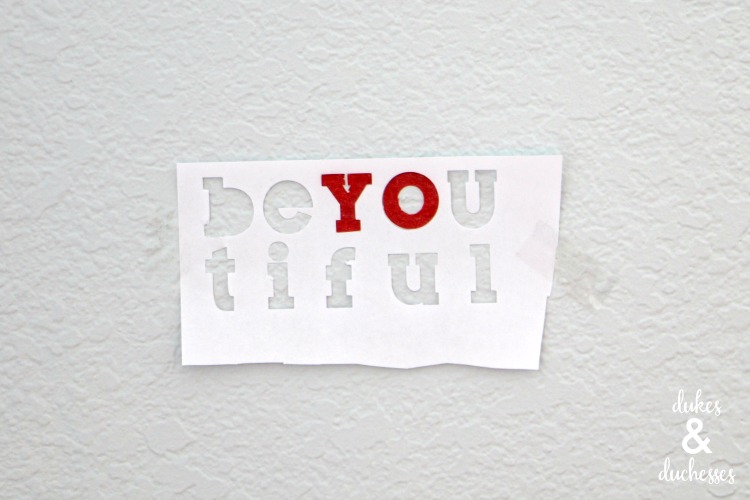
Use a glue stick {or you could also use glue dots or other scrapbook tape to adhere the letters} and place the letters inside the placement stencil, being careful not to glue them over the paper.
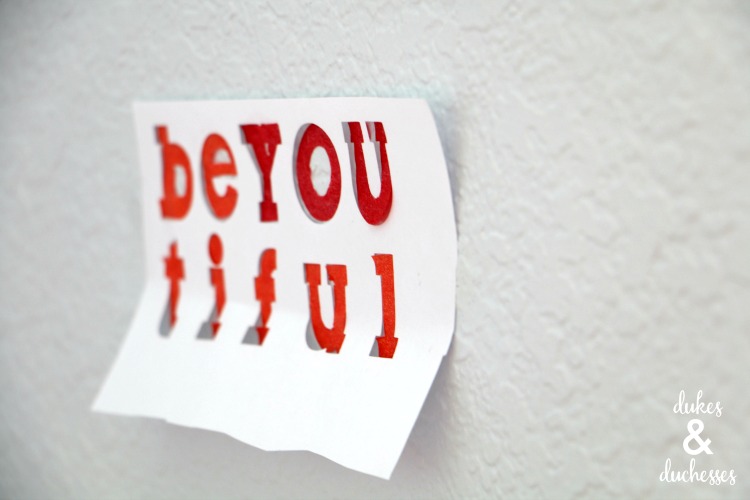
Once they’re all in place, gently remove the placement stencil …
… and add the frame.

For placement purposes, it’s best to nail the frame in place before you attach the letters and just remove it to make the letter application easy.

This tissue paper wall art is so simple but it’s a fun wall decor idea for a tween room and a sweet reminder for young girls.
And isn’t it always fun to experiment with a different crafting medium?


Leave a Reply