This DIY llama mouse pad post contains affiliate links.
Did you see my recent home office update? My home office, formerly the dining room, got a new stacking furniture system and some colorful accessories and it’s now a clean, organized, productive space. I love the change so much! When I was updating everything, I realized we really needed a new mouse pad … and not just some run-of-the-mill mouse pad but something cute. I had a hard time finding anything I liked so I made my own DIY llama mouse pad {because who doesn’t love llamas?} that’s both practical and {hopefully} a bit inspiring for everyone who works in this space!

To make this DIY mouse pad, I bought a completely plain black mouse pad at a discount store and hit up my Cricut stash for some colorful iron on heat transfer.

I used a llama image found in Cricut Design Space and added a fun text message around it then sent it to my Cricut Maker to cut.
You likely already know how to place iron on vinyl on the standard grip cutting mat but in case you aren’t sure, let me give you a quick visual. Iron on heat transfer always gets placed with the shiny side down on the mat and the white side facing up.
Because it’s placed this way, it’s super important that you remember to mirror your image before cutting or else you’ll end up with a backwards image and text.
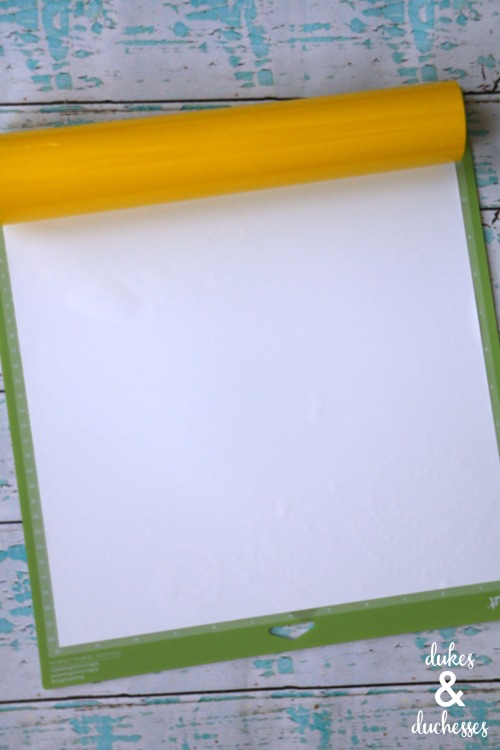
Once cut, weed around the image to get rid of the pieces you don’t want.
The easiest way to weed iron on is to use weeding tools and the Cricut BrightPad.
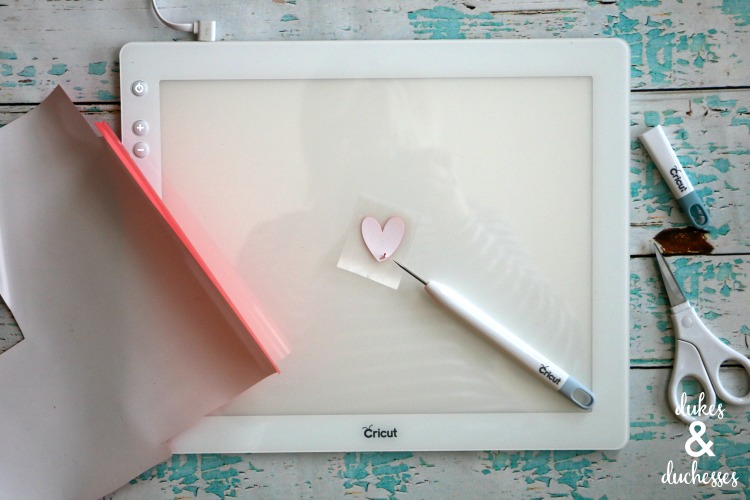
The BrightPad lights up and allows you to see all those tiny lines in the image, making it so much easier to only pull out what you don’t need.
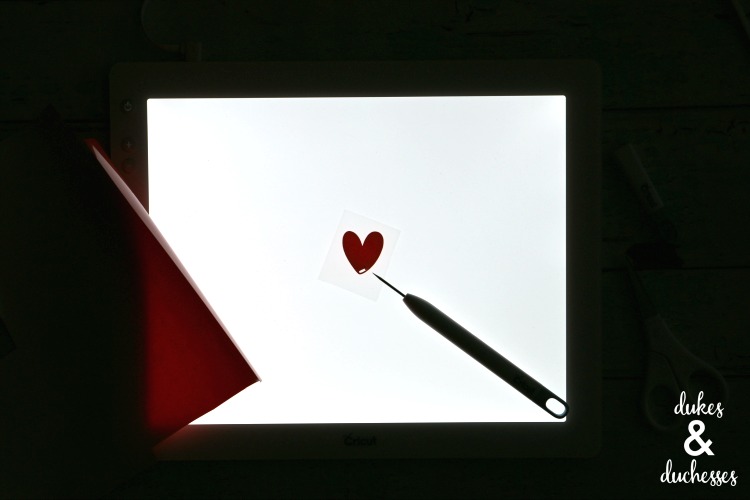
Once the image is weeded, you’re ready to apply it to the mouse pad.
Not sure how to apply Cricut iron on? It’s super easy!
Lay the pieces on to the mouse pad, with the plastic lining on top, and adjust as needed until everything is in the right spot.

The Cricut EasyPress or EasyPress 2 is the best way to adhere the iron on onto the mouse pad. You can apply it with an iron as well but because of the constant temperature and built-in timer, you’ll get far better results with an EasyPress than with an iron and the mouse pad will last much longer. {And did you see my post about the new tote bags Cricut now makes to store and carry the EasyPress machines? They make on-the-go crafting a breeze!}
For best practice, heat the mouse pad for five seconds before laying out the design then apply heat with the EasyPress machine for thirty seconds. Typically, you would also apply heat to the back of the project for another fifteen seconds but because the back of the mouse pad is a rubbery material, I didn’t think that would be a good idea and didn’t think the heat would even penetrate through. I set the temperature to 315 degrees, applied heat for thirty seconds, did a cold peel, and had perfect success.
If you start to peel back the lining once you’ve pressed the image down and the image peels up, simply lay the lining back down and give it a bit more heat.

This little llama mouse pad turned out so cute and it’s a fun and silly touch for our home office!

I put the image in the corner so the mouse won’t constantly be running over it but we’ve been using it for weeks now and it’s had no trouble holding up under a whole lot of photo editing and Fortnite {wink}.

What would you put on a personalized mouse pad?



Leave a Reply