• Home
  • Start Here
    • About Dukes and Duchesses
    • Collaborate/Contact
    • Privacy Policy
  • Holidays
    • New Year’s Eve/Day
    • Valentine’s Day
    • leap year
    • St. Patrick’s Day
    • April Fool’s Day
    • Easter
    • May Day
    • cinco de mayo
    • Mother’s Day
    • Father’s Day
    • Fourth of July
    • Halloween/Harvest
    • Thanksgiving
    • Christmas
  • Crafts
    • general crafts
    • Cricut projects
    • printables
    • painting
    • sewing
    • knitting
  • DIY
  • Repurposed
  • Parties
    • Birthday
    • Entertaining
  • Recipes
  • Home Decor
    • Decor
    • home improvement
    • plants and garden
    • housekeeping
    • organization
  • travel
    • general travel
    • Dallas

Dukes and Duchesses

Dallas Fort Worth Creative Lifestyle Blogger

creative projects sewing Silhouette · Written by Randi Dukes

The Picnic Basket Tutorial

19 shares
  • Tweet
  • Share
Ready for the tutorial for the little picnic basket?  It’s super easy.  And very un-exact.  That’s not a word, but you know what I mean.

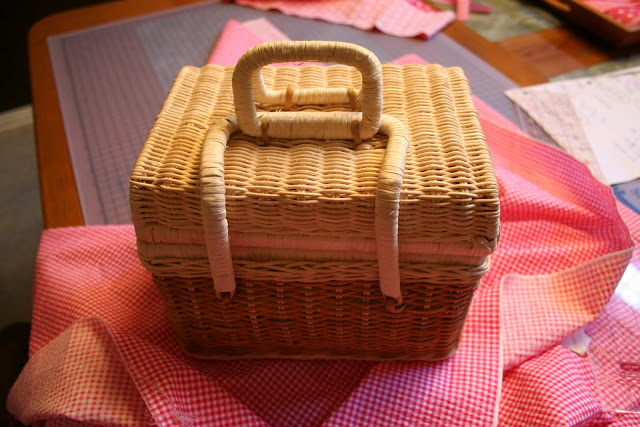
Find a basket.  I lucked out and found a perfect miniature picnic basket but other styles of baskets would work as well, even those without lids.

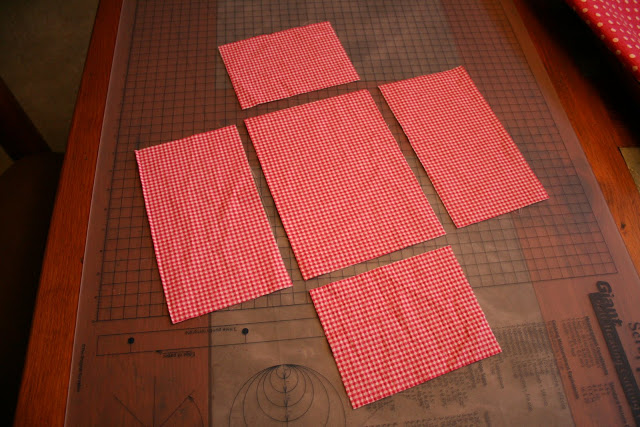
Measure the sides and bottom of the inside of the basket and add a seam allowance {I added 1/4 inch on each side to account for my serged seam} then cut your pieces according to the measurements.  {I added 3/4 inch on the top edges to allow for the folded edge in the next step.}

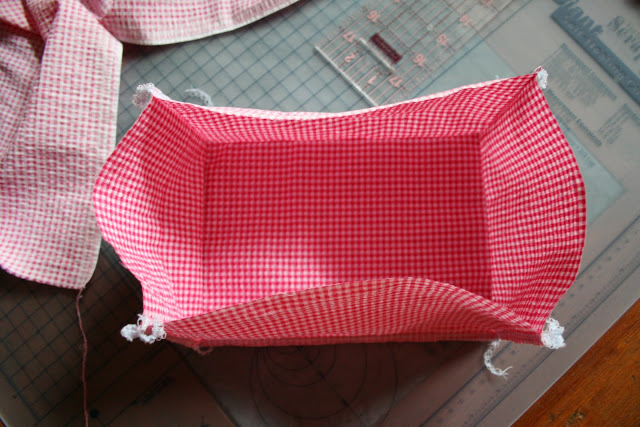
Sew each side piece to the bottom piece and then sew each side seam {make sure right sides are together}.  I serged around the top edge to eliminate fraying and then folded over and pressed 1/2 inch all around.

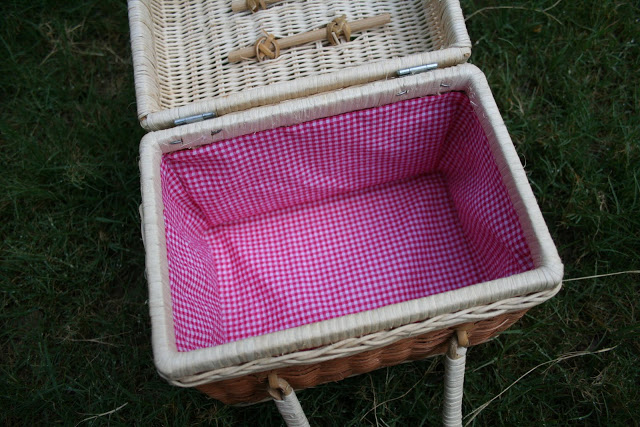
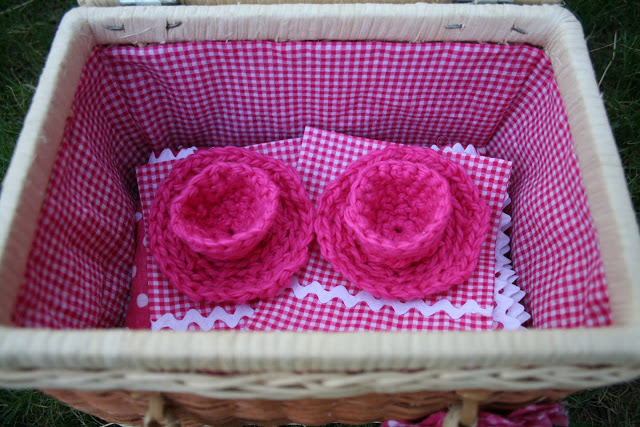
Place the liner into the basket and lightly hot glue the top edge to the inside of the basket.

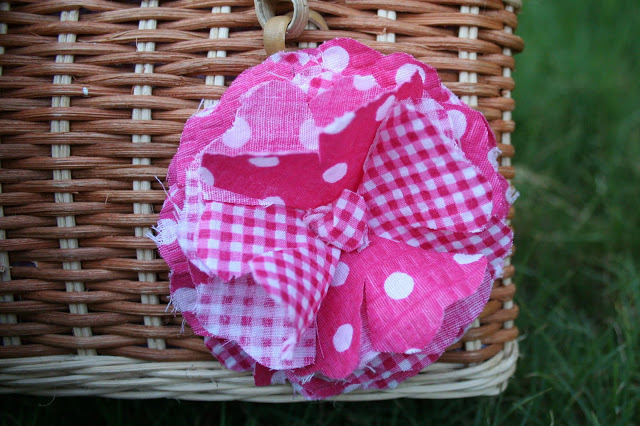
Make a super cute posie {instructions can be found all over the internet … I love this version}, add a knotted piece of fabric for the center, and glue onto the outside of the basket.  The basket is complete!

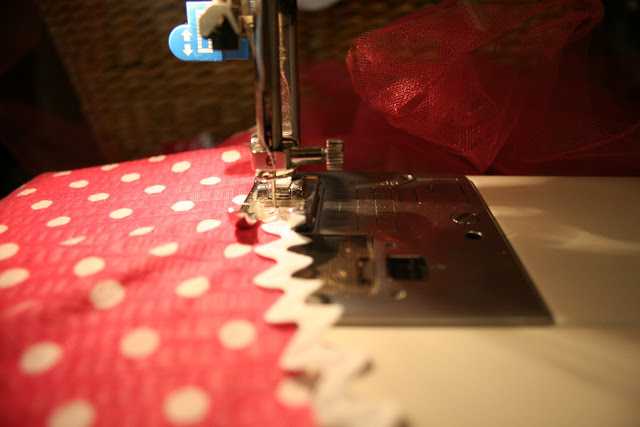
Onto the little picnic blanket.  Since the basket isn’t very big, I didn’t want a big bulky blanket so this blanket is just one thickness of fabric … I didn’t back it with anything.  Cut a square of fabric and, using a zig zag stitch, sew ric-rac along the edge.

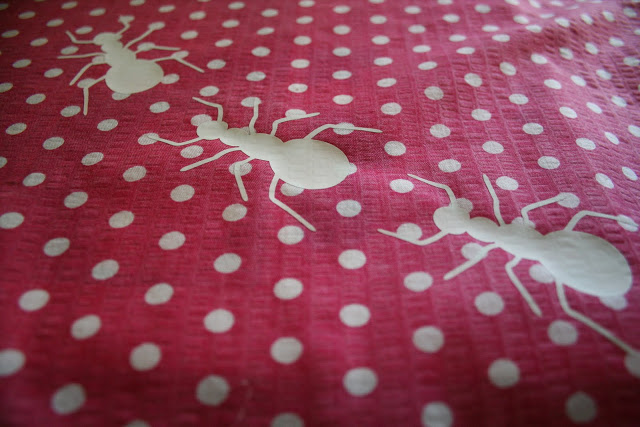
The ants were added using my Silhouette and white heat transfer material.  If you don’t own a Silhouette, you could always stencil the ants on with fabric paint … or skip them altogether.

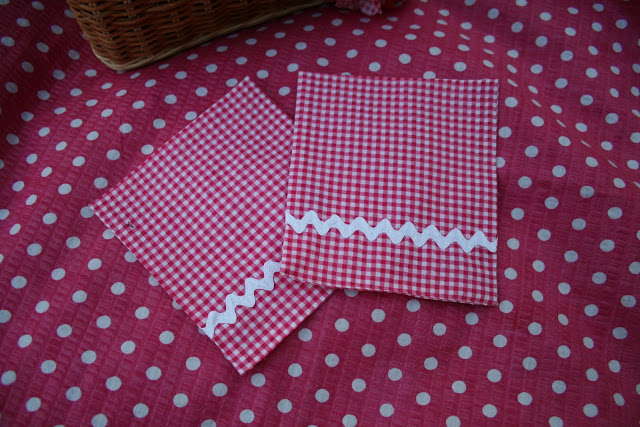
To make the napkins, cut two rectangular pieces.  Sew a line of ric-rac an inch or so from the edge, then fold the fabric in half, right sides together, and stitch two of the sides.  Flip the napkins right side out, sew the final seam {since I hate hand sewing, I just sewed it with my machine and kept the stitch line as close to the edge as possible.}

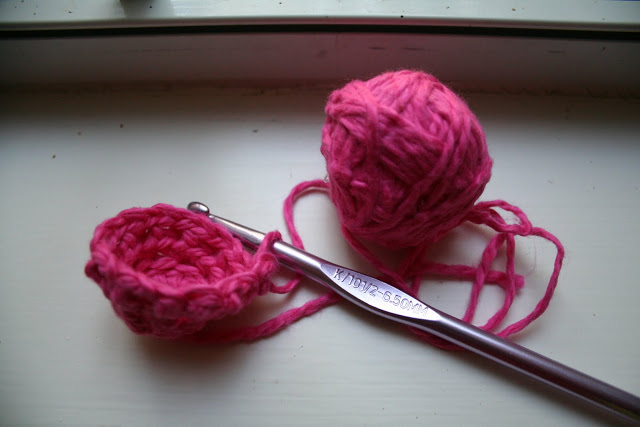
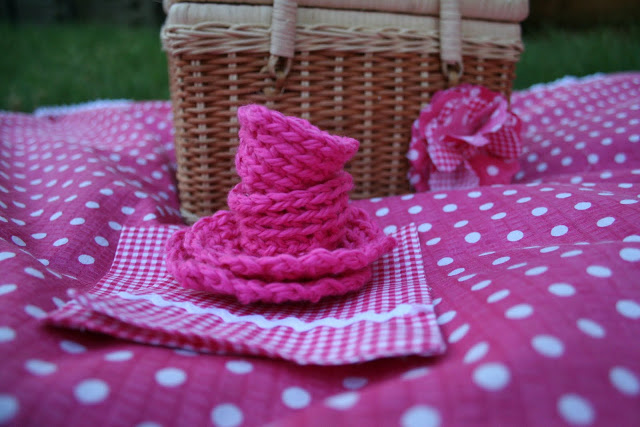
This is the tricky part of the tutorial because I don’t actually crochet.  I crocheted a small circle and then just continued doing my own throw-together method of crocheting around and around the circle until I had a saucer.  For the cup, I changed my method a bit {less chain stitches on subsequent rows, if that’s the correct terminology} which gave me the cup shape.

Put everything in the basket and your little one is all ready for an imaginary picnic!  Bon appetit!

Randi


I’m linking to A2Z


I’ve started truncating my posts … please pop over to my blog to read the rest!

2 Comments

About Randi Dukes

I’m Randi, a Dallas-based mom of five kids, ranging from third grade to college and including a set of twins. I love strong coffee, craft and DIY projects, my planner, and my big ol’ family. When I’m not creating something for my blog, I can be found in the car, running kids from one place to another. I’m the one knitting at the red light. Connect with me on google+ | twitter | facebook

« A Spot for Bedtime Books
Christmas in July :: Entertaining »

Comments

  1. Cherished Bliss says

    July 7, 2011 at 4:10 pm

    Congrats on your win! Great job : )

    Reply
  2. Maureen says

    July 9, 2011 at 12:48 pm

    Your creativity and skills are endless. That is just so sweet.

    Reply

Leave a Reply Cancel reply

Your email address will not be published. Required fields are marked *

  • Facebook
  • Instagram
  • Pinterest
  • Twitter
  • YouTube

Welcome to Dukes & Duchesses!

randi dukes

I’m Randi, a mom of five living in Dallas. I love strong coffee, long lists, bright colors, thrift stores, repurposed junk, and power tools.

how to plant a sweet tea garden

Southern Sweet Tea Container Garden

colorful wood DIY garden marker

DIY Wood Veneer Plant Markers

creative outdoor garden ideas

8 Creative Ideas for Your Outdoor Garden

DIY herb garden markers

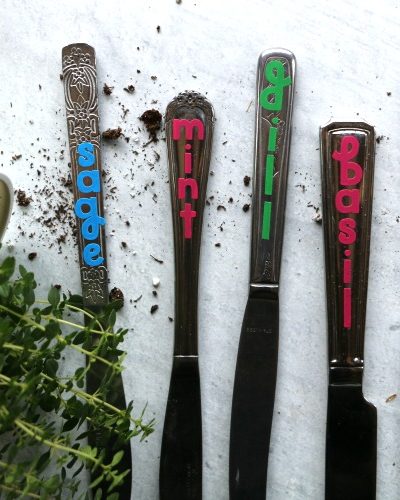
DIY Upcycled Knife Garden Markers

upcycled cutting board sign in beverage garden

DIY Beverage or Cocktail Garden

Dukes and Duchesses is a participant in the Amazon Services LLC Associates Program, an affiliate advertising program designed to provide a means for sites to earn advertising fees by advertising and linking to Amazon.com.
Any content on this website is created for inspirational purposes only. You assume your own risk for using any methods, tools, or supplies suggested here. Follow proper guidelines for every tool or supply used and obtain professional guidance as needed.

Copyright © 2025 · Randi Dukes · Wordpress Hosting by SERVOUSLY