This is a sponsored conversation written by me on behalf of Cricut. The opinions and text are all mine. This post contains affiliate links.
I love any excuse to throw a party or a themed playdate and a red and white toadstool party seemed perfect for summer! I used my Cricut Maker to easily embellish and design a few key details for this simple party and it turned out so cute. Whether you host the party outdoors in a forest setting like I did or indoors with a cute backdrop, this sweet party will appeal to many different ages and stages!

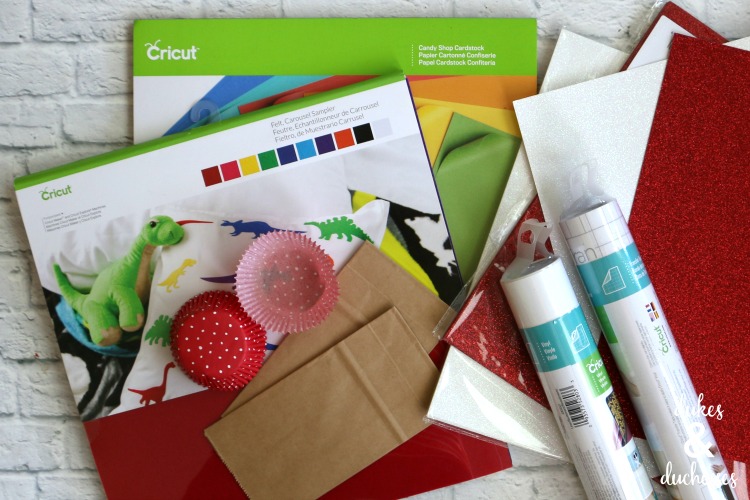
To create this toadstool party, I used the following supplies:
cardstock
felt carousel sampler
white glitter cardstock
rich red glitter cardstock
small brown paper bags
dollar store bowls
white vinyl
transfer tape
red and white polka dot cupcake wrappers
moss
red and white polka dot plates
white napkins, and
clear cutlery.
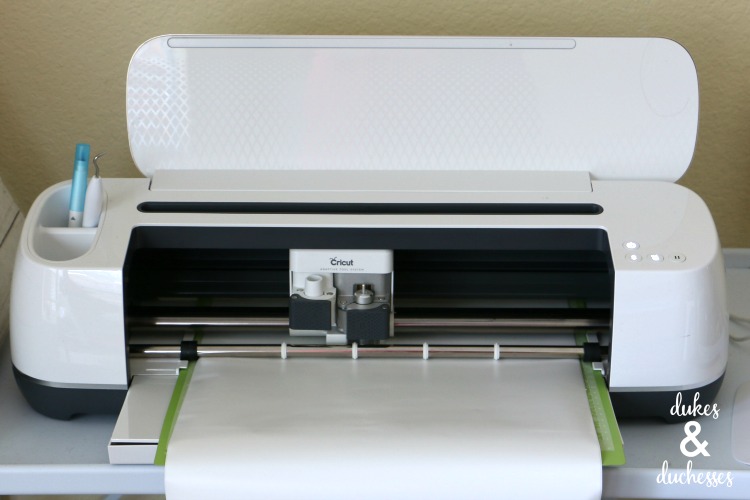
I used my Cricut Maker to cut the cardstock, vinyl, and felt, changing the settings for each cut, depending on what material I was using. I used a StandardGrip Cutting Mat for the cardstock and vinyl but used a StrongGrip Cutting Mat for the felt.
I never cease to be amazed by the Cricut Maker. It offers the ultimate in cutting performance and versatility, cutting hundreds of materials, from the most delicate fabric and paper to matboard and leather. Hands down, it’s my favorite crafting tool and one that I use numerous times a week.
All of the projects created for this party are so simple but they look so cute when combined together. You can’t really go wrong with polka dots, can you?
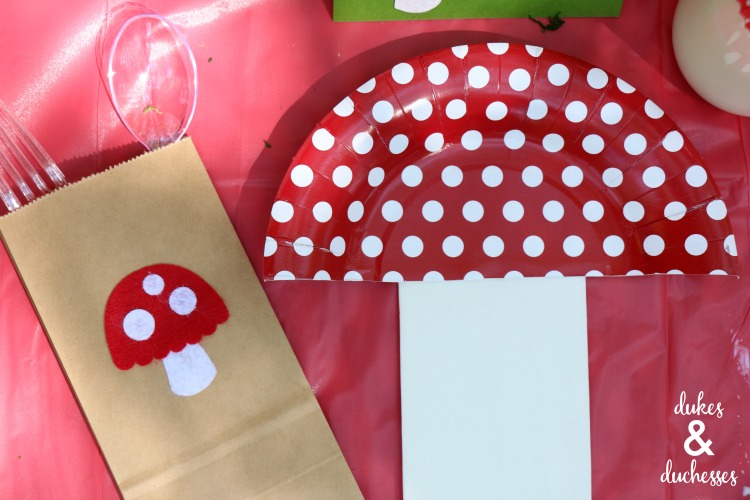
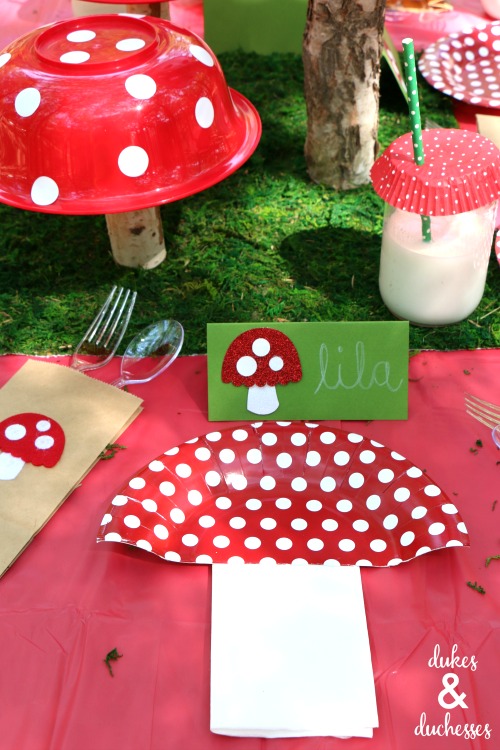
I had the idea for the toadstool plates one day while wandering through the craft store and decided to create an entire party around that idea. To make them, I cut polka dot plates in half and placed a folded white napkin stem under each one. Set at each place, they create a really cute setting.
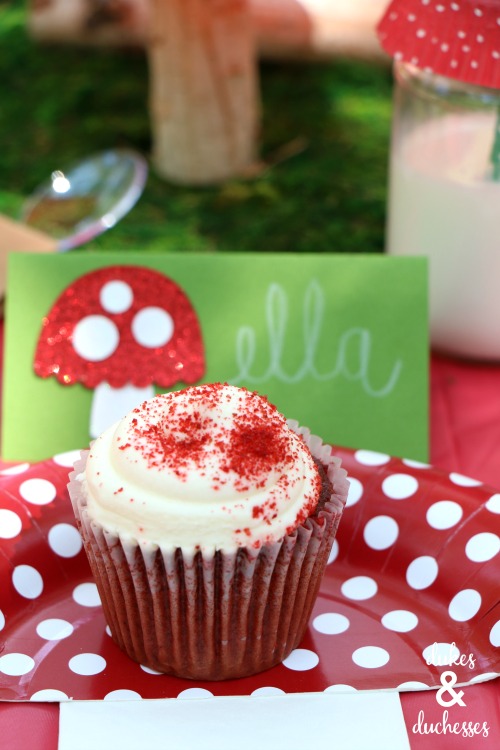
And even with only half a plate, there’s plenty of room for cupcakes and snacks!

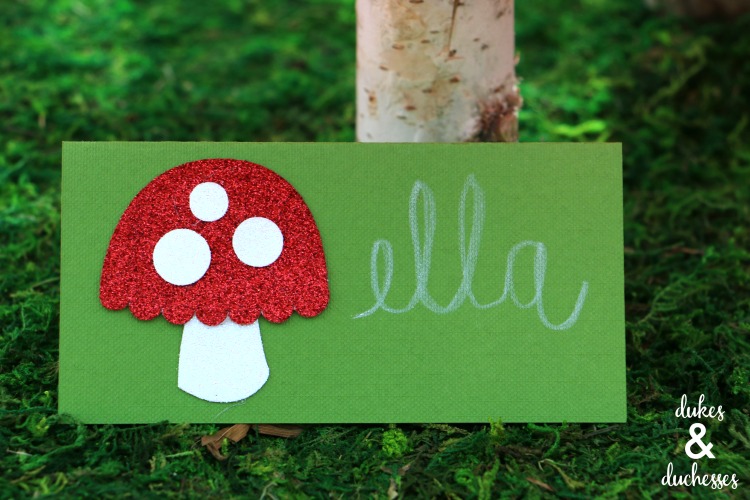
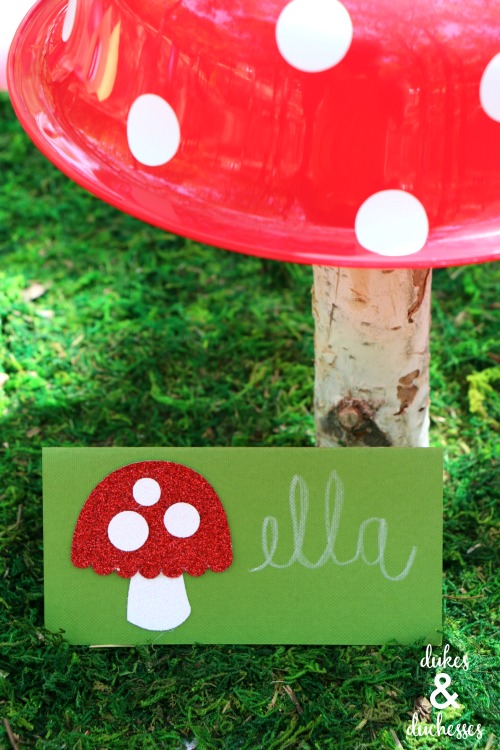
I created the place cards in Cricut Design Space and used green cardstock to cut the place card then cut the toadstool from glitter cardstock to add a bit of bling to the table.
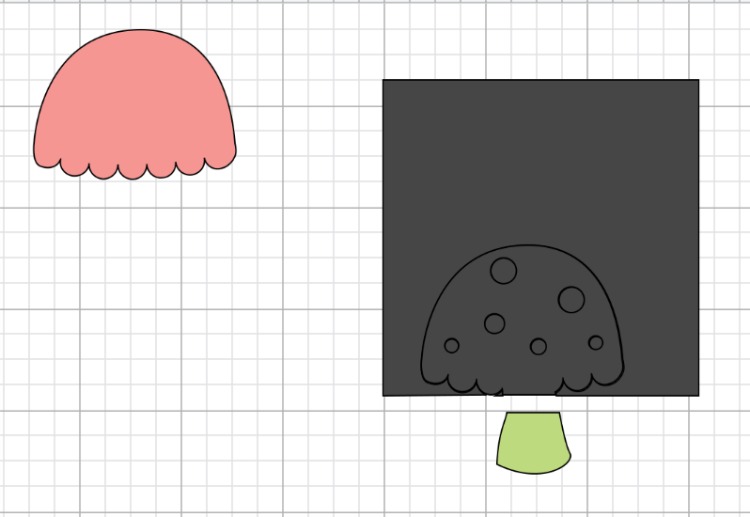
To create the toadstools used on the place cards, I used a toadstool image available in Cricut Design Space and altered it slightly.
First, I used the Contour feature to hide the dots. Because the toadstools used in the party decor were going to be fairly small, I didn’t want them covered in lots of teeny tiny dots.

Instead, I used the circle tool to create three dots in different sizes.
I also changed the overall design of the toadstool. The original toadstool was created in layers with a full toadstool underneath the red cap of the mushroom. I felt like that would add far too much layering to the projects so I detached the layers, pulled the red cap off, then drew a square as shown below and used the slice feature to separate the stem from the rest of the mushroom. I deleted the top part so the toadstool now consisted of three separate parts: a cap, a stem, and three dots.
To make the place cards, I drew a square and added a score line {found under shapes} to the middle. If you don’t have the scoring wheel {used to make razor-sharp creases in cardstock, poster board, and more}, you can delete the score line and just fold the cards in half without it.
I cut the place cards …

… used hot glue to add the mushrooms, and wrote names on the cards with a white pencil crayon.
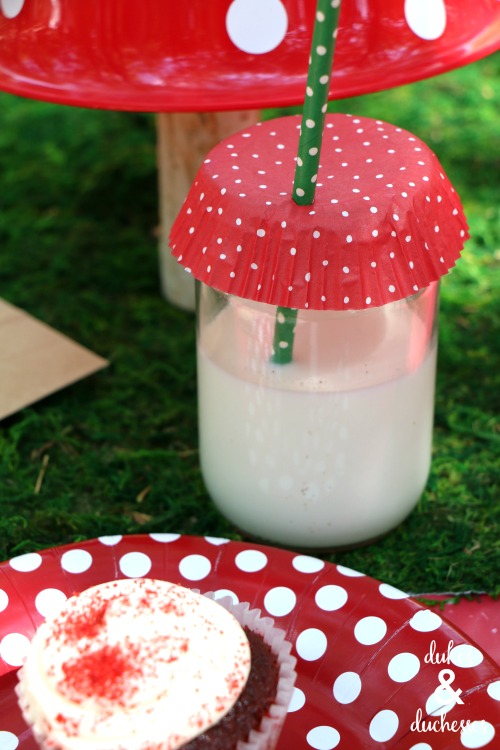
The cups were super simple. I wanted them to look like toadstools as well so I used mason jars, added red and white polka dot cupcake wrappers, and cut a small hole for the straw.
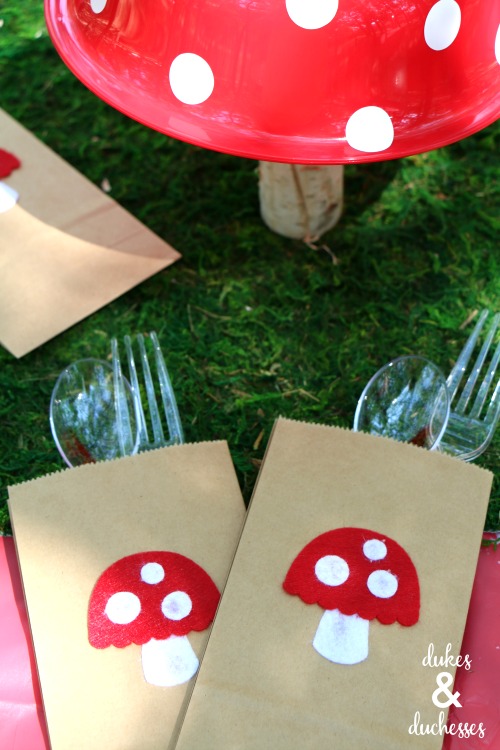
I used the same toadstool I created in Cricut Design Space to cut toadstools for the cutlery bags but I cut them from felt instead of cardstock. If you haven’t yet cut felt with the Cricut Maker, you’re in for a treat! It cuts so smoothly and the felt adds dimension and texture to projects.
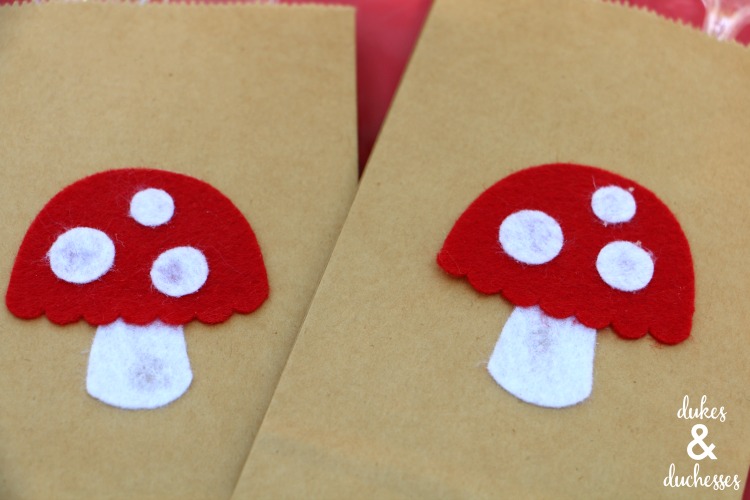
I hot glued the felt toadstools onto small brown paper bags and placed disposable cutlery inside. Small cutlery bags are perfect for outdoor parties because they keep everything in one place. I love using napkin pockets for outdoor parties as well.
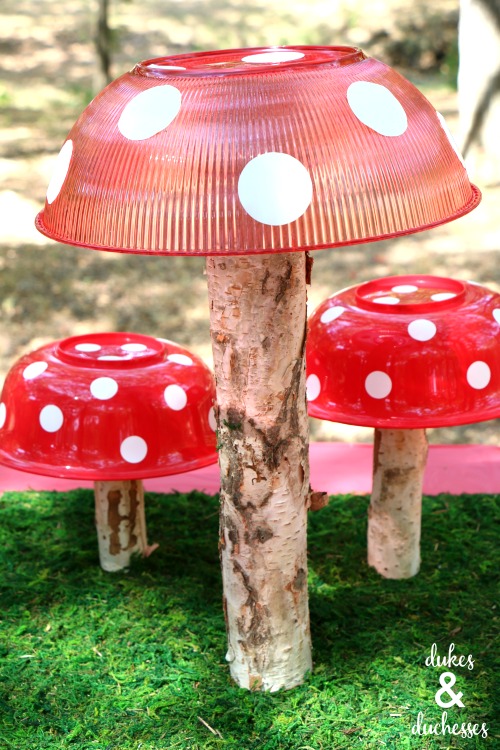
My favorite part of this toadstool party is probably the simple toadstool centerpiece! I used red dollar store bowls, placed them on top of branches, and added white vinyl dots. The dots were cut on the Cricut Maker and I just peeled them off and placed them on the bowls. You can also use transfer tape to place them. Set on a piece of craft store moss, the centerpiece was the perfect touch!
Simple parties are my favorite and the Cricut Maker makes it so easy to take a cute idea and develop an adorable party!
What fun parties have you made with your Cricut?


Wow! This is amazing. So cute. Pinned for another day!