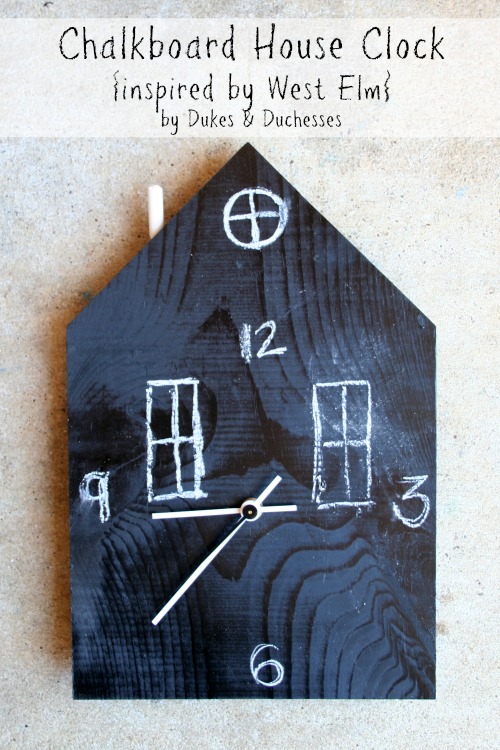
The other day I was flipping through a magazine and reading about some cute gift ideas when I saw the most adorable chalkboard house clock by West Elm. I knew it would be the perfect clock for our gameroom and I also knew I could DIY it for a fraction of the price.
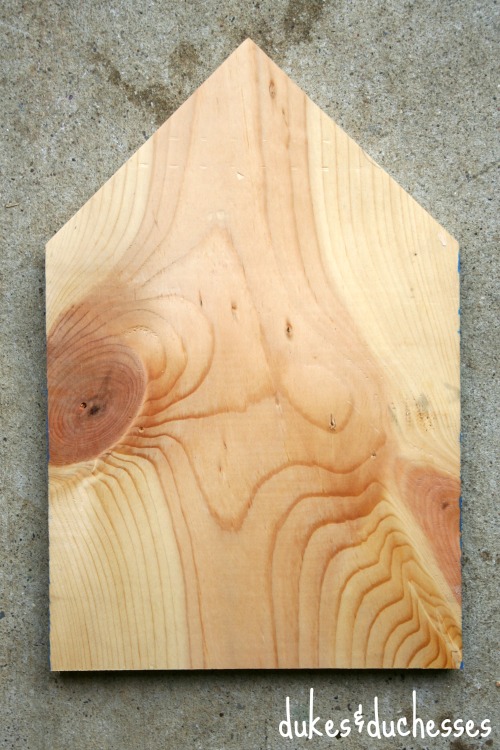
I started with a scrap of wood I found in my garage. A note: the grain of the wood will show through the paint so if you want a completely smooth surface, start with a suitable material. I cut my board to approximately 12 inches in length and left it at the original width of about 8 inches. Using a miter saw, I cut the roof using 45 degree angles.
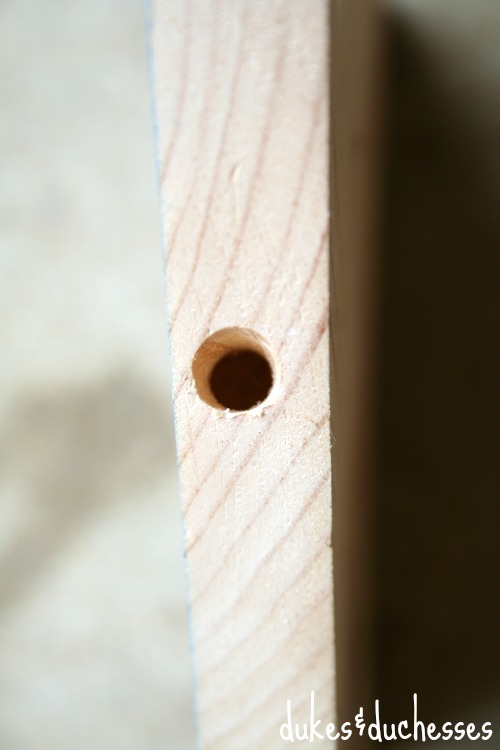
I drilled a hole into the top of the roof, making a chalk holder that will also serve as a chimney …
… then spray painted the front and sides with chalkboard paint. I applied a couple of coats, then seasoned it with chalk so permanent marks won’t be left behind.
I drilled a hole in the center of the clock and inserted a clock kit {found in various sizes at the craft store}.

I wrote in a few numbers with chalk …

… inserted the chalk “chimney” …

… and drew some windows. I also promised the kids that they can have free reign on decorating the chalkboard house clock once it’s hanging in the gameroom. I can’t wait to see what fun features they add!

This clock is such a simple DIY project and is the perfect whimsical touch for any kid-centered space!


I like how your clock turned out! I tried making one, too but out of foam board since I didn’t have the tools to cut wood into the shape of a house. I was curious how it would have looked made out of wood instead : ]