These tea bag drawer sachets were created as part of a sponsored conversation written by me on behalf of Cricut. The opinions and text are all mine. This post contains affiliate links.
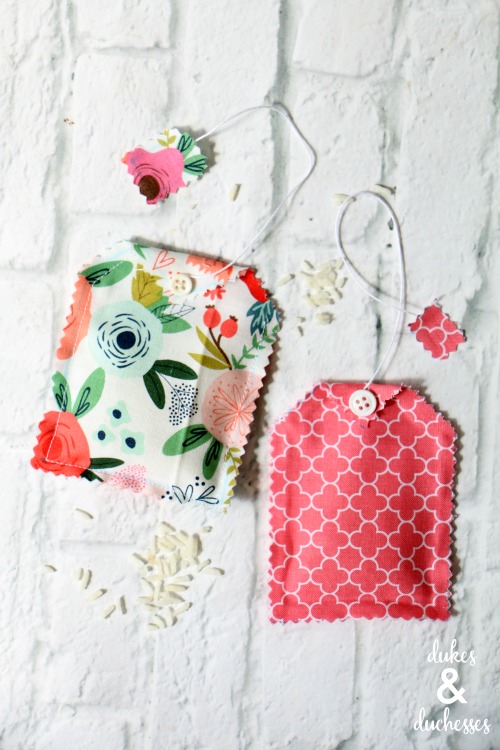
This summer I had the chance to go to Salt Lake City for the big reveal of the new Cricut products, including the Cricut Maker. We were all super excited to see the new capabilities of this amazing machine and one of the coolest features is that you can now cut unbonded fabric with the rotary knife! I tested one of the sewing patterns this week and made these pretty tea bag drawer sachets in a stitched version and a no-sew version {for those of you that love the idea of cutting fabric but aren’t feeling great about your sewing skills}! The process was so simple and I can’t wait to tackle some of the other projects on Cricut Design Space!

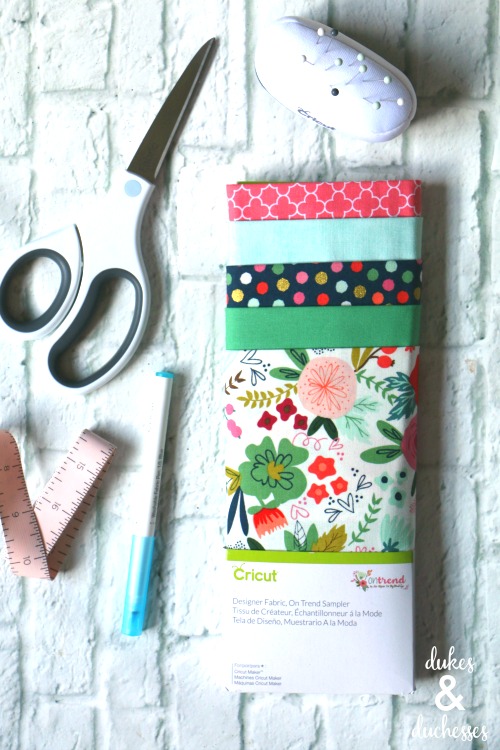
To make these tea bag drawer sachets, I used one of the coordinating fabric packs from Cricut. I’m a bit smitten with the floral and polka dots and I love that the work of coordinating fabrics is already done. This project also requires a washable fabric pen and basic sewing tools.
I selected the tea party scent sachets in Cricut Design Space and followed the instructions. This was actually the first Make It Now project that I’ve done {crazy, right?} and I was sold from step one. I loved not having to create the whole project. You just jump right in to the fun part of creating!
For the new sewing projects, Cricut Design Space tells you exactly what you need, gives the complete instructions, and even gives helpful hints. It couldn’t be easier!

I placed the fabric on a fabric mat, face down so the washable fabric marker will write on the wrong side of the material, put the washable fabric marker and rotary blade into the adaptive tool system …

… and let the Cricut Maker do its thing.
It drew the marking and stitching lines first, then cut out each piece.
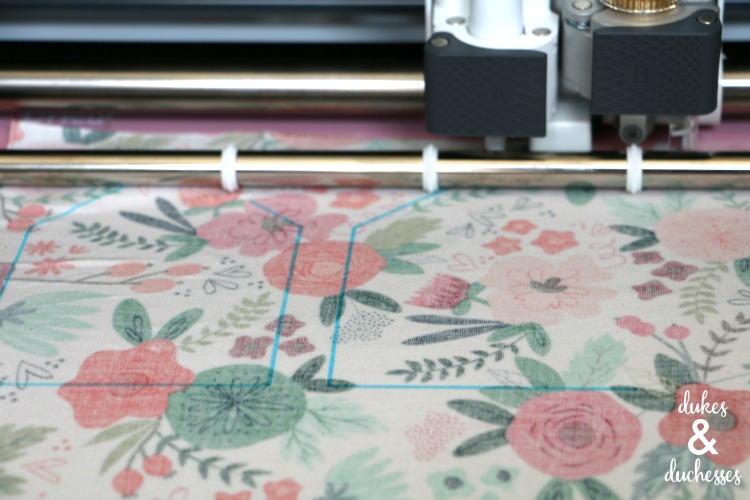
How easy is that? In just a few minutes, all the pieces were cut out, all with perfectly straight lines fitting perfectly together, and all marked on the back.
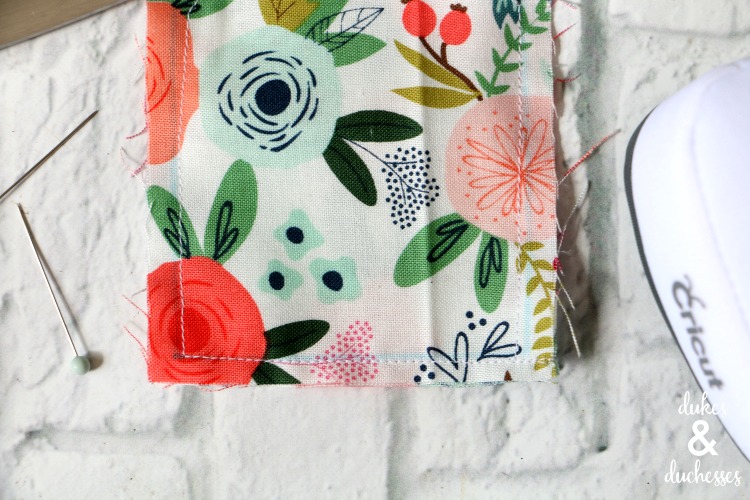
With one small problem {wink}. I forgot to lay the second piece of fabric right side down so the markings all ended up on the right side of the fabric. If this happens to you too, don’t worry! The fabric marker is washable and will disappear if it gets wet. Before I created my project, I gently wet the lines and they faded away. If you need the lines to know where to stitch or fold on a project, don’t wet them until you’re finished.

Once all the pieces were cut, I used my sewing machine to stitch the project according to the instructions on Cricut Design Space, stitching the outer edges …
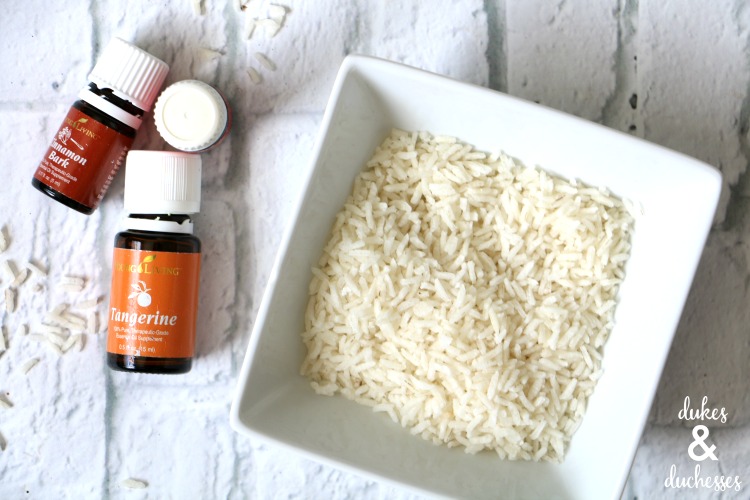
… and filling with a scented insert.
I was hoping to fill these sachets with dried lavender from my garden but there wasn’t enough out there so I filled them with scented rice instead. I poured uncooked rice into a bowl, added some of my favorite essential oils until the scent was strong enough, stirred it up, and let it dry.
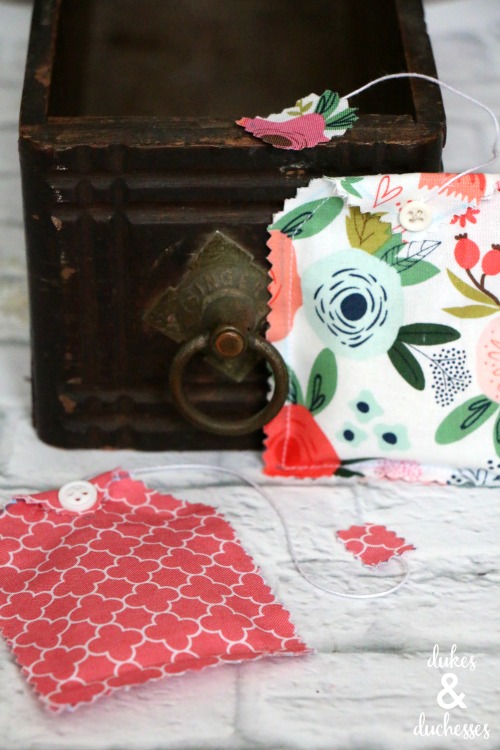
Then I just scooped it into the sachets, stitched the top closed, and completed the final steps of sewing on a button and adding the tag.

For those of you who want a no-sew version, follow all of the steps in Cricut Design Space but simply use fabric glue {or even hot glue for this simple project} to seal the sides and attach the button.
This is the perfect project for someone who is just learning to sew and the no-sew version can be made by anyone, even kids {be sure to lend a hand if the kids use hot glue}.
These scented drawer sachets will make a welcome addition to the sock or lingerie drawer …

… and they’d make a great little gift!
Be sure to check out the other sewing projects on Cricut Design Space and let me know what you’re planning to make next!


I absolutely love this. I think I could even make them – your tutorial is so simple! I bet every one of my drawers will have one in it within the month! 🙂
Those are perfect gifts for the holidays. I know my daughters would love them.
I don’t have high tea too often but those sachets would make it so much fun. I think sewing is easier than gluing even though i am not so great, That cricut machine makes it so much easier.
These are so cute. What a great gift idea.
I love making homemade gifts. These would be perfect for both my mother and mother-in-law. Now I want to get a cricket!
What a perfect little gift to add on to my holiday giving this year! I am going to whip some up this weekend!
This is such a neat little gift idea. I know that I am not a huge person to sew but I think I could manage these.
This is such a cute idea. I will have to get the supplies I need to make some this weekend.
These would be such a great addition to a gift basket for the holidays. I like to add a little personal touch and a homemade gift is the best way to do that.
Those are absolutely adorable. I’m so glad you gave a no-sew option! It’s helpful to have both options.
Now these are awesome. I definitely like the fabric you use for yours. I bet I could use them in some of my drawers!
So cute! I bet these would make great gifts too!
Oh these would make awesome homemade gifts! They would also look adorable as name tags on gifts. Might have to attempt making these.
I love these! So cute and very easy to make! Would love to try both!